Partner Counter-Pressure Guideline turns helpful hands into calm relief during labor. Learn safe hand placements, steady rhythms, and stage-by-stage timing. Build confidence with clear cues, smart setup, and practical comfort routines that fit real rooms.
- The why: pain patterns and how counter-pressure helps
- Safety first: consent, red flags, and clean setup
- Hand placements that work: sacrum, hips, and knees
- Core techniques step by step for common scenarios
- Timing with contractions and matching breathing
- Adapting in positions and with epidurals
- Teamwork, pacing, and simple practice routines
The why: pain patterns and how counter-pressure helps
Labor pain is mechanical and hormonal. The uterus tightens, cervix changes, and the baby descends. Tissues stretch and compress. Nerves relay that intensity. Counter-pressure offers sensory competition and structural support. Done well, it feels grounding and safe.
Back labor in plain language
Back labor often means intense low-back pressure. The sacrum bears force from the uterus and baby’s position. Hands that press the sacrum create a firm surface. That surface changes how pressure lands. It feels less sharp and more contained.
What counter-pressure actually does
Firm, steady pressure dampens pain signals. It reduces protective muscle guarding. It also gives a focal point for attention and breath. Muscles soften when the brain reads “steady, safe contact.” That is the effect you are making on purpose.
What relief should feel like
Relief feels easier, not numb. Breathing slows. Sounds drop lower. The laboring person leans into your hands. Their shoulders soften. Facial tension fades. If the body pulls away, your pressure or position needs adjusting.
Why rhythm matters
Contractions come in waves. Your pressure should mirror that rhythm. Start early in the rise. Peak with the wave. Melt off as it fades. The brain relaxes when touch and timing agree. Agreement beats raw force every time.
Safety first: consent, red flags, and clean setup
Safety begins with consent and clear signals. It continues with clean hands, a stable stance, and simple stop rules. These choices protect comfort and confidence at once.
Consent in two sentences
Ask before you touch. Keep asking as labor changes. A simple “Still good here?” works. Honor “no” immediately. Changing needs are normal.
Clean hands, stable feet
Wash or sanitize hands. Trim nails. Remove rings with sharp edges. Plant your feet shoulder-width. Soften your knees. Keep your back long. Stable partners give steadier contact and avoid their own strain.
Quick red flags: stop now if
- Sharp or increasing pain appears under your hands
- Numbness, tingling, or new weakness occurs
- Fluid or bleeding worries you
- Dizziness, chest pain, or severe shortness of breath appears
Stop, help them rest, and call the care team. Safety outranks streaks.
Protect the partner’s body
Use your legs, not your low back. Exhale while you press. Keep elbows soft, not locked. Trade roles with another helper when fatigue shows. Strong pressure is not required forever. Consistent, honest pressure wins.
Room awareness
Watch monitors, IV lines, and belts. Never lean on equipment. Ask staff where to stand. Adjust if a clinician needs access. Partners and staff share the same goal: safe comfort and progress.
Hand placements that work: sacrum, hips, and knees
You need only a few placements. Learn them well. Use them with good timing and breath. Most rooms support these without extra gear.
Sacrum: the low-back center
The sacrum is the flat bone above the tailbone. Place your heels of hand on the center. Press straight in, not down. Keep pressure even through the wave. This is a favorite for back labor and standing shapes.
Double hip squeeze: space where it counts
Place one hand on each outer hip at the bony points. Fingers wrap forward; thumbs aim back. Squeeze inward and slightly up. The pelvis narrows side-to-side and opens front-to-back. Many feel instant relief here.
Knee press: kind leverage in sitting
While they sit or kneel, place hands at the outer knees. Press inward gently. The pressure opens pelvic space and steadies the low back. This works well during bed sitting, ball sitting, and side-lying adjustments.
Sacral sweep: motion for tense moments
Start at the top of the sacrum. Glide your palm down with firm, slow pressure. Repeat with the wave. The sweep interrupts guarding. It also cues deeper, slower exhales.
Where not to press
Avoid the spine’s spinous bumps. Avoid the tailbone tip with direct pokes. Skip pressure on the belly. Do not press on IV sites or monitor sensors. If they say “not there,” move immediately.
Core techniques step by step for common scenarios
You do not need dozens of moves. You need reliable steps you can remember when the room is loud. Think “place, press, and breathe.” Then adapt the angle for the shape you see.
Press–release rhythm in 3 steps (numbered list)
- Place. Find the spot during the quiet. Confirm “here?”
- Press. As the wave rises, apply firm, even pressure.
- Release. Melt off as the wave fades. Ask, “Same again?”
Keep voice low. Keep sentences short. The body follows calm rhythms better than speeches.
Sacral press: standing or leaning
They stand, leaning on a counter, bed, or partner. You place both palms on the sacrum. Fingers point sideways. You press straight in and hold. Breathe with them. Release slowly as the wave ends. Reset feet and repeat.
Double hip squeeze: hands and-knees
They kneel on the bed or floor, chest supported by pillows. You kneel behind their hips. Your palms sit on the outer hips. Fingers wrap forward for grip. Squeeze inward and slightly upward. Hold through the peak. Ease off with the fade.
Knee press: ball or bed sitting
They sit with feet planted. You crouch in front, chest tall. Place hands at the outer knees. Press inward evenly. They lean forward onto pillows. The pelvis opens. Back muscles relax. Release with the wave’s end.
Sacral sweep: restless phases
Restless phases ask for motion. Place one palm at the sacrum’s top. Glide down with the exhale. Repeat two or three sweeps during a wave. Switch hands to spare your wrists. Sweeps calm faces and shoulders fast.
Hand switch and relief checks
Trade sides between waves. Shake wrists out. Ask, “More up or more down?” Small adjustments matter most. Chase the “aha” spot, not harder force.
If pressure seems to stop helping
Try a different angle. Move from sacrum to double hip squeeze. Add side-lying with a pillow stack. Use shorter presses with longer melts. Return to breath coaching if touch feels irritating. Tools rotate; the goal stays the same.
Timing with contractions and matching breathing
Touch is timing. Breath is timing. Contractions invite a duet. When you match the wave, the brain hears safety. That signal softens everything downstream.
Meet the wave early
Watch for face, breath, and posture shifts. Place hands before the climb. Give the nervous system a head start. Late pressure can feel chasing and chaotic. Early pressure feels like leadership.
Use low, steady breath cues
Offer one cue per wave. “Loose lips, low exhale.” Or “Breathe out, ride down.” Keep your voice warm and quiet. Long exhales steady heart rate and focus. They reduce guarding without force.
Count only if asked
Some like numbers. Others do not. If they ask, count the exhale down from eight. Keep the count slow and even. Stop counting if their face tightens. Replace numbers with a low hum to mirror.
Release as a skill
Help them release between waves. Touch the shoulders lightly. Say, “Unclench jaw; soften hands.” Guide one longer exhale in the quiet. Rest beats hype. Recovery fuels the next wave.
When the urge to push arrives early
Urges sometimes arrive before full dilation. Switch to “feather exhales.” Purse lips and blow gently, as if cooling tea. Pair with light sacral support. Ask staff for guidance. You are buying calm time, not stopping progress.
When the room changes
Monitors, exams, or staff needs can interrupt. Protect the rhythm, not your favorite move. Offer quiet breath coaching while others work. Resume pressure once space returns.
Adapting in positions and with epidurals
Positions shape access and comfort. Epidurals change mobility and sensation. You can adapt quickly if you know what to watch and where to stand.
Side-lying with a pillow stack
Side-lying rests energy while keeping space open. Place a big pillow between knees. Add a wedge behind the back. Offer double hip squeeze by pressing the top hip gently. Or press the sacrum from behind with one hand. Keep your body close to avoid leaning.
Hands-and-knees on the bed
This is a counter-pressure classic. Use double hip squeeze or sacral press. Support chest and head with pillows. Check knees for padding. Rock hips with the exhale if it feels good. Trade positions every few waves to avoid numbness.
Upright leaning and lunge
They lean over a bed or partner. Step one foot onto a low stool for a supported lunge. Offer sacral press or hip squeeze. The asymmetry can help rotation. Switch feet every few waves. Keep exhales long and low.
Sitting on a birth ball
They sit with feet wide, elbows on the bed. You kneel at the sacrum. Press in and up slightly. Or sweep downward with slowly increasing pressure. Stabilize the ball if it rolls. Safety beats novelty here.
With epidural: comfort and caution
Epidurals change feeling and motion. Avoid pulling or torquing numb legs. Use side-lying, supported hands-and-knees, or semi-reclined angles. The peanut ball can keep hips open. Press the sacrum from the side while staff watch lines. Ask where to stand before each move.
Monitors, belts, and tubing
Tuck tubing safely. Do not press on sensors. If a belt slips, pause and notify staff. Your job is comfort plus awareness. You are part of a larger team.
When positions feel crowded
Small changes matter. Move a pillow. Slide a knee two inches. Angle hands higher or lower. Ask, “Better here?” The right micro-adjustment often unlocks comfort.
Teamwork, pacing, and simple practice routines
Great counter-pressure looks calm. It sounds quiet. It feels predictable. You build that by practicing short, clear routines now. You keep it by pacing yourself later.
Speak in headlines, not paragraphs
Use one short line per wave. “Here comes pressure.” “Breathe out, I’m with you.” “Melt, melt, melt.” The brain hears tone as much as words. Keep tone low and steady.
Partner mechanics that last
Keep wrists straight and elbows soft. Face the work, not twisted. Exhale as you press. Shift weight from legs, not back. Swap roles often. Small partner breaks prevent weak, wobbly contact later.
Small toolkit that helps consistency
- Two pillows and a folded towel for knees
- Lip balm, straw cup, and a cool washcloth
- Massage oil or lotion for sweeps, if allowed
Keep items within arm’s reach. Fewer searches mean steadier rhythm.
Five-minute practice drill at home
Set a timer. Practice sacral press on a couch cushion. Press through a “wave” for a count of forty. Melt for twenty. Repeat three times. Then switch to hip squeeze against a firm chair back. Finish with two slow sacral sweeps. You are learning timing and body mechanics, not strength.
Pacing across a long day
Take short partner breaks every hour. Switch hands and stance often. Drink water. Eat small, steady snacks if allowed. A steady partner is more valuable than a heroic one.
When to loop in staff
Call staff when patterns change sharply. Ask for position ideas if relief stalls. Share what has worked so far. Collaboration saves time and avoids repeated dead ends.
After birth
Hands still help. Gentle shoulder holds steady the first hour. A warm hand on the back can calm shakes. Your role shifts, not your value. Presence remains the strongest tool.
Frequently Asked Questions
How hard should counter-pressure feel?
Firm but welcome. The laboring person should lean into your hands. If they pull away, lighten or move your hands. Ask for guidance often.
Does counter-pressure help every kind of labor pain?
Not always. It often eases back labor and pelvic pressure. When it doesn’t help, switch positions or try breath coaching and warmth.
Can I do counter-pressure if membranes have ruptured?
Yes, with clean hands and safe positions. Avoid baths unless cleared. Keep towels handy. Ask staff about any limits for your situation.
What if the laboring person gets irritated by touch?
Back off immediately. Offer breath cues from a distance. Try dimming lights and reducing talk. Ask what touch, if any, feels okay now.
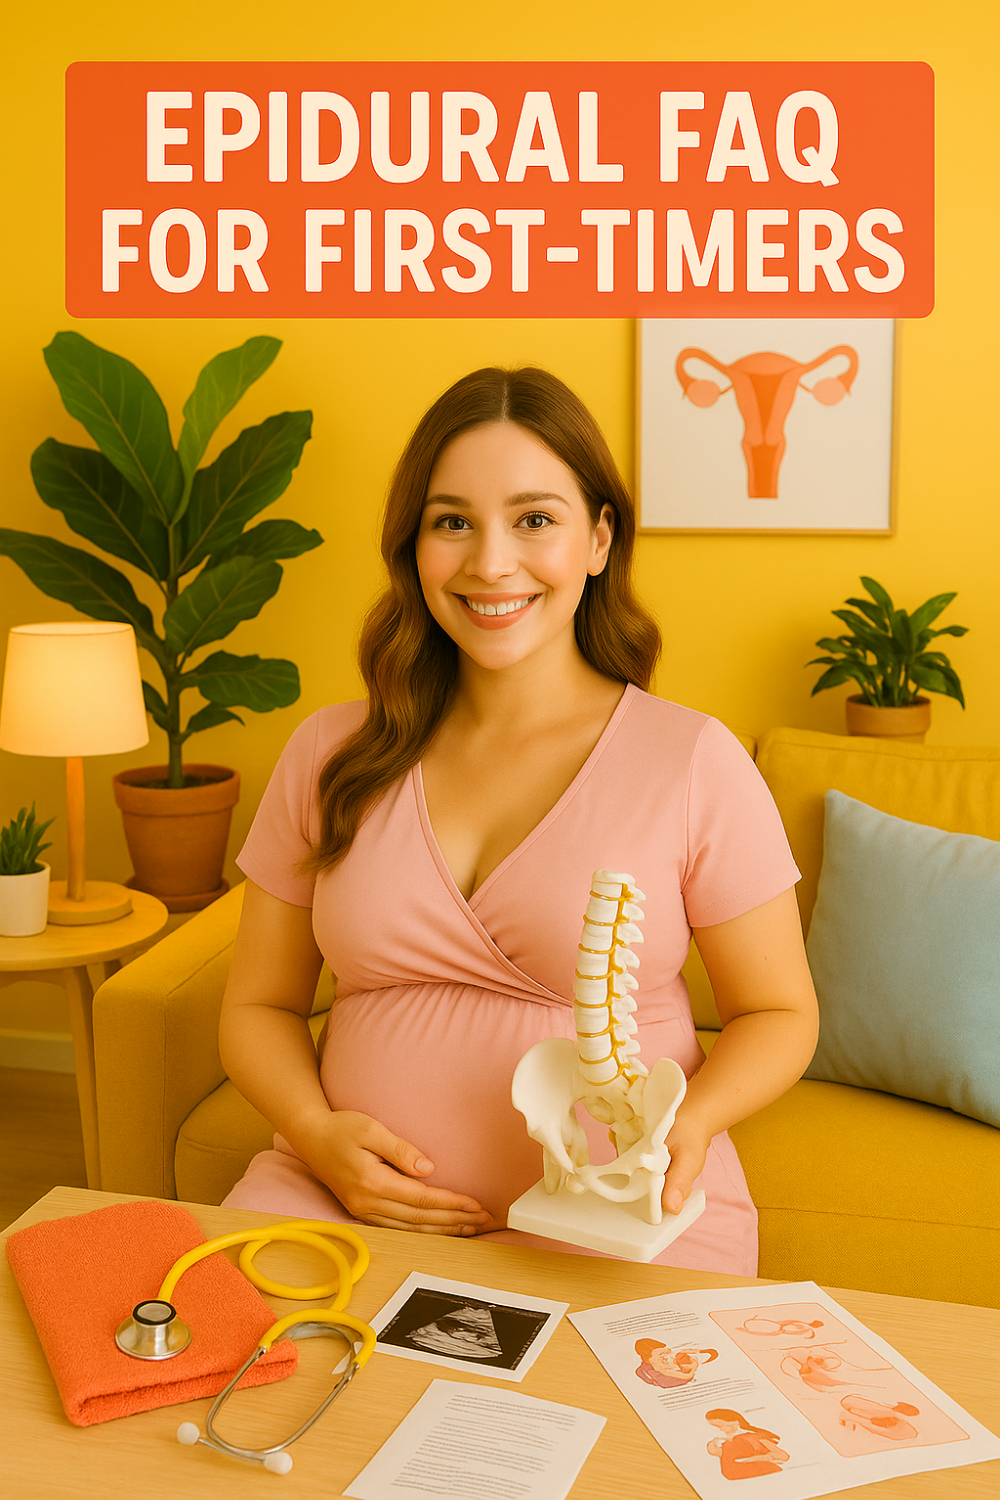
Is counter-pressure safe with an epidural?
Usually, yes. Use supported positions and protect numb legs. Avoid pressing on lines or sensors. Ask staff where to stand and what to avoid.