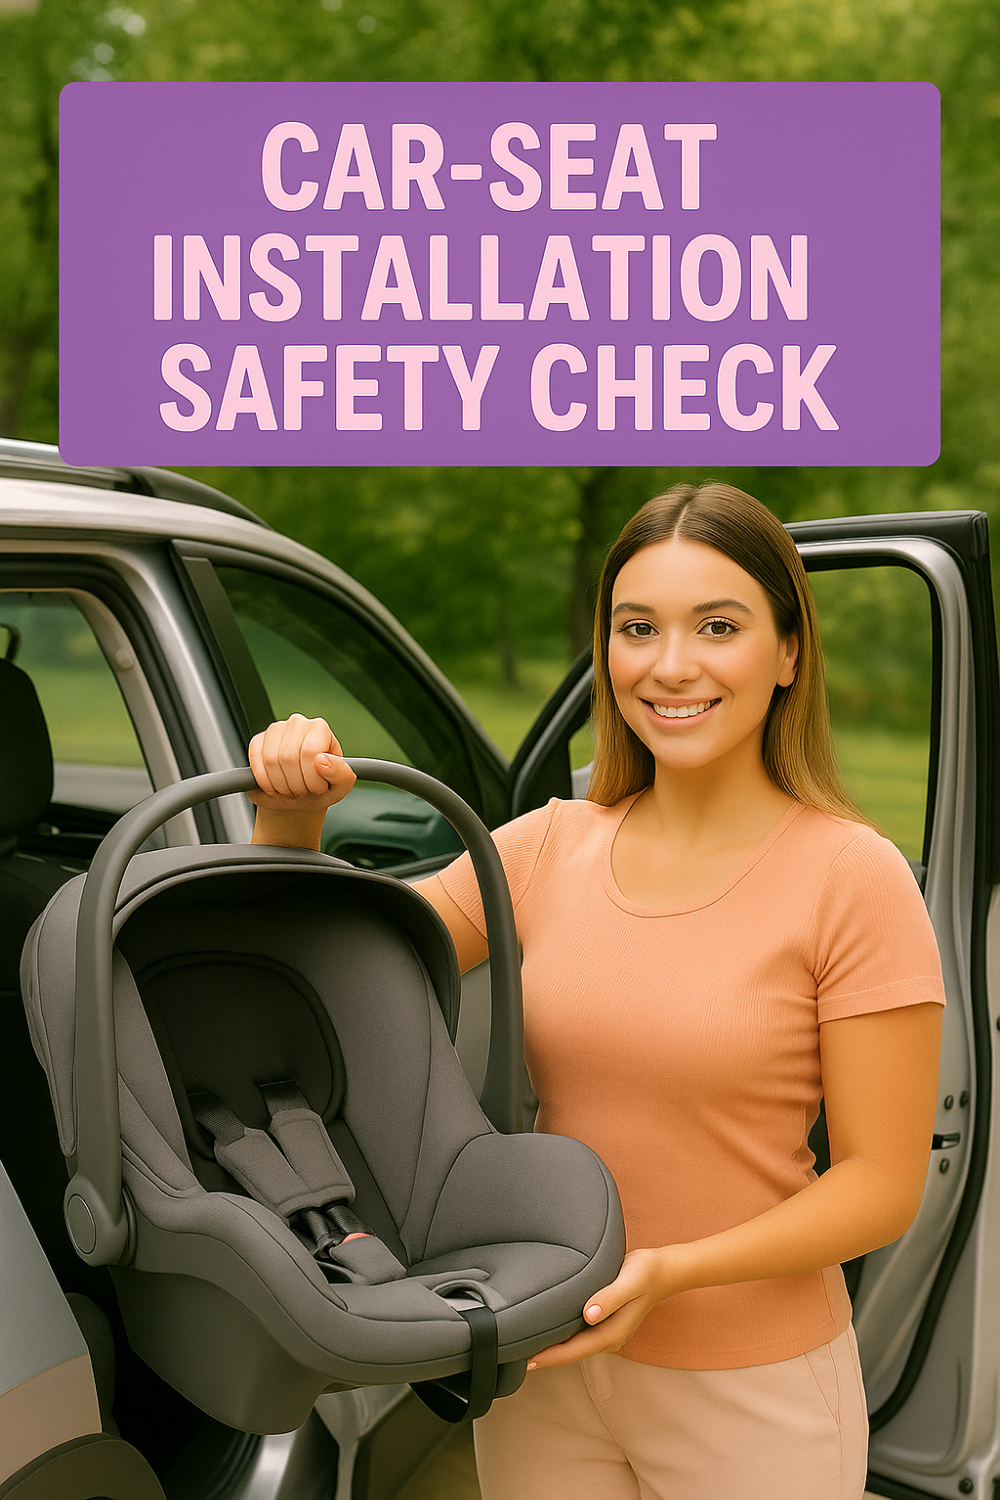
Car-Seat Installation Safety Check turns birth prep into real-world safety. Learn timing, tools, angles, and harness fit. Follow step-by-step installs, red-flag checks, and inspection options. Arrive ready for discharge and every ride home.
- When to schedule your check and how to prep
- Choose the right seat and understand your manuals
- Positioning and recline: newborn angles that protect airways
- Install with seat belt or LATCH: step-by-step and stability
- Harness fit, clothing, and what not to add
- Common mistakes and fast fixes you can trust
- Final safety check, inspection options, and travel-day plan
When to schedule your check and how to prep
Your best window to install is the early third trimester. Aim for weeks thirty-four to thirty-six. That gives time to practice and adjust. It also leaves room to book an inspection with a certified technician. Calm practice beats last-minute stress.
Start with both manuals. You need the car seat manual and your vehicle manual. Mark pages for rear-facing install, belt paths, and airbag rules. Manuals answer model-specific questions. They also show diagrams that reduce guesswork fast.
Register your seat. Use the brand card or the company site. Registration allows recall alerts. Keep the receipt and model sticker photos on your phone. You will need them if parts are updated later. Organized records make future checks simple.
Pick your install location now. Back seat is safest. The center can be safest if the seat fits there. Some cars do not allow center LATCH. Some centers are too narrow for a solid install. Manuals decide, not preference. Decide with your exact car and seat.
Practice before week thirty-eight. Babies can arrive early. You want muscle memory ready. A quiet evening works well. Plan a second practice after an inspection visit. Tension drops when hands already know each step. Confidence is a safety feature.
Tools you will actually use (bullet list 1 of 3)
- Your car seat manual and your vehicle manual
- A small towel or a pool noodle section if allowed
- A flashlight or phone light for belt paths
- A washable marker or painter’s tape for angle marks
Place these items in a small pouch. Keep it with the base until birth. If you switch cars, the pouch comes along. You will not hunt for tools at night. Simple prep saves energy on discharge day.
Choose the right seat and understand your manuals
Newborns ride rear-facing. You can use an infant seat with a base. You can also use a rear-facing convertible from birth. Choose based on fit, budget, and lifestyle. Both are safe when installed and used correctly.
Infant seats click in and out quickly. They include bases for fast transfers. Many allow baseless installs with the vehicle belt. That can help in taxis or with grandparents. Convertibles stay installed in the car. They require you to lift baby in and out.
Know your limits. Seats have height and weight limits for rear-facing use. Babies outgrow by height before weight. Watch the standing height and the head height rule. Most require at least one inch of shell above the head. Your manual states the exact rule.
Learn your lock method. Most cars have switchable shoulder belts. You pull the belt all the way out to lock it. Some older belts need a locking clip. Your seat may include one for those cars. Your manual shows when and how to use a clip.
Learn LATCH rules. Lower anchors have weight limits. Those limits combine seat and child weight. When your child plus seat exceeds the limit, switch to the seat belt. Do not use lower anchors and the seat belt together unless your seat manual allows it.
Read about airbag zones. Rear-facing seats go in the back seat. Never place a rear-facing seat in front of an active airbag. If you have no back seat, you must disable the airbag. Your vehicle manual explains how. Back seat remains the safer place.
Check handle rules. Some infant seats ride with the handle up. Some require the handle down. Many require a specific locked position. The manual shows allowed positions while driving. Handle position is not decoration; it is a safety setting.
Keep accessories simple. Use only parts that came with the seat. Skip aftermarket head supports and strap pads. They change crash performance. Your manual lists approved inserts. If an item is not listed, do not add it.
Positioning and recline: newborn angles that protect airways
Newborns need a specific recline. Too upright, and the head can tip forward. Too flat, and forces change in a crash. Most infant seats use a bubble or line indicator. You keep the bubble within the target range. You align the line level with the ground.
Park on level ground for angle checks. Sloped driveways give false readings. Use a flat garage or a parking lot. Set the base angle first. Many bases have an adjustable foot. Some need a rolled towel or a pool noodle. Your manual will say if that is allowed.
Center versus outboard matters. The center can reduce side-impact risk. But the seat must install tightly there. Many cars lack center anchors. Some have a narrow center hump. Test the center. If you cannot get a tight install, use a side position. A proper side install beats a loose center install.
Check front-seat clearance. Seats should not press hard into the front seat. Some brands allow “bracing.” Many do not. Airbags and sensors can be affected by pressure. Your vehicle manual and seat manual decide. Keep a small gap when unsure.
Red flags—reinstall if you see them (bullet list 2 of 3)
- Bubble out of range or angle line not level on flat ground
- Shell touching the front seat when your manual forbids bracing
- Base foot at max with seat still too upright for a newborn
- Center install uses “borrowed” anchors not allowed by your vehicle
If you hit a red flag, pause. Re-read the manuals. Adjust the foot or add allowed support. Move to an outboard position if needed. Correct angle and stability matter more than position pride.
Newborn fit inside the seat
Harness slots must be at or below the shoulders. Use the lowest slots that meet that rule. Some seats include a newborn insert to lower the slot height. Use it if the manual requires it for small babies. Remove it when your manual directs removal.
Head support must be the piece that shipped with your seat. Loose pillows and third-party supports are not allowed. If baby’s head tips to the side, you can use two rolled receiving blankets. Place them on each side, outside the harness. Never pad behind baby or under the harness.
Install with seat belt or LATCH: step-by-step and stability
You will use the seat belt or the lower anchors. Use one method, not both, unless the seat manual says otherwise. A tight install moves less than one inch at the belt path. Test exactly at the belt path with your non-dominant hand.
Seat belt install: base with infant seat
- Place the base on the seat and set the angle foot.
- Thread the shoulder and lap belt through the correct belt path.
- Buckle. Remove slack from the lap belt first.
- Lock the belt. Pull the shoulder belt all the way out. Let it ratchet back.
- Press straight down where the baby’s feet would be.
- While pressing, tighten the belt. Feed slack back into the retractor.
- Check for movement at the belt path. Aim for less than one inch.
- Click the carrier onto the base and recheck the bubble or angle line.
LATCH install: base with infant seat
- Clip each connector to the lower anchors. Check that both face the right way.
- Confirm anchor spacing matches your car’s LATCH positions.
- Tighten the strap while pressing down on the base.
- Keep the base parallel to the seat. Avoid tilting to one side.
- Check for movement under one inch at the belt path.
- Verify the recline indicator is in range on flat ground.
Baseless install for taxis and second cars
- Place the carrier rear-facing with the correct recline.
- Thread the lap belt through the guides near the baby’s feet.
- Buckle and lock the belt. Use a locking clip only if required by your belts.
- Press down and tighten the lap belt path firmly.
- Ensure less than one inch of movement at the belt path.
- Confirm handle position allowed for baseless use. Many require the handle up.
Rear-facing tethers are uncommon in the United States. Use a tether rear-facing only if your seat manual explicitly instructs it. Forward-facing seats do use top tethers. This article focuses on rear-facing newborn installs.
Do not “double up.” Using lower anchors and the seat belt together is usually not allowed. Forces travel differently through each path. Your manual decides, but most brands say choose one. Pick the method that gives you the tighter result in your vehicle.
If the base tilts after tightening one side, equalize pressure. Loosen slightly and retighten with your forearm centered on the base. Some seats have anti-rebound bars. Install them per the manual if included. They help control rebound in a crash.
Harness fit, clothing, and what not to add
Harness fit holds baby in the shell. The shell takes the crash force. Poor fit lets baby slide or ramp. Great fit happens in four steps. You can do them every time in under a minute with practice.
Four-step everyday harness routine
- Place baby with hips back and diaper flat.
- Buckle the crotch buckle and the chest clip.
- Tighten the harness until slack is gone from the hips and shoulders.
- Position the chest clip at armpit level, centered on the sternum.
Use the pinch test. Try to pinch the webbing vertically at the collarbone. If your fingers can grasp a fold, it is too loose. Tighten until your fingers slide off the flat strap. This applies even over thin layers.
Straps must lie flat. Twists reduce strap performance. Follow the straps from hip to shoulder with your hand. Untwist before buckling. Twists hide under the cover. Run your fingers under the cover if tightening feels uneven.
Clothing matters. Skip puffy coats and thick bunting in the seat. Bulky layers compress in a crash. They create hidden slack. Dress baby in thin, warm layers. Add a blanket over the harness after tightening. You can also use a car-seat-safe cover that does not sit under the straps.
Chest clip height matters. Keep it at armpit level. Clips too low can allow ejection. Clips too high can press the throat. Center the clip over the sternum. Check again after travel if a blanket bumped it.
Skip add-ons. Do not add strap pads, head pillows, or inserts that did not ship with your seat. They change how the harness sits on small bodies. They also can affect crash energy management. If it is not in your manual, do not use it.
If baby looks slumped
Adjust the angle into the newborn range. Check the diaper bulk under the hips. Remove extra bulk and re-seat baby. Use rolled blankets at the sides, outside the harness. Confirm the crotch buckle slot setting per the manual. Some seats have two positions.
Common mistakes and fast fixes you can trust
Mistakes cluster in predictable places. You can scan and solve them quickly. Practice these checks every month. Cars, seats, and kids change with time. Routine checks keep safety current.
Loose installs cause the biggest issues. Test at the belt path with your non-dominant hand. Short, firm pushes are best. Movement should be under one inch. If it is more, tighten again. If it still moves, reinstall with the other method.
Angle errors grow with time. Car seats settle. Recheck the bubble or line each month. Adjust the foot or support if your manual allows it. Park on flat ground for checks. This one habit protects small airways.
Handle position often changes during errands. Secure the allowed drive position each trip. Many manuals list “carry,” “recline,” and “drive” positions. The drive position may not be your favorite at home. Safety wins in the car.
Center installs with borrowed anchors can be risky. Many vehicles forbid using the inner anchors from each side to make a center LATCH pair. The car and the seat manuals must both allow it. If they do not, use the seat belt in the center or move outboard.
Belt routing mistakes happen when families switch seats between cars. Confirm you used the rear-facing belt path. Convertibles have two paths. The forward-facing path sits higher. The rear-facing path sits low near the feet. The manual shows the right color and label.
Strap twists hide under covers. Remove the cover if needed to clear a stubborn twist. Follow webbing from end to end. Twists reduce strap performance significantly. A flat, smooth strap is a safety must.
Aftermarket accessories create problems. Mirrors, toys, and seat protectors are popular. Use only protectors and mats listed by your seat brand. Heavy mirrors can become projectiles. Choose soft, lightweight items if you use anything at all. Keep focus on the road.
Seat history matters. Do not use a seat with unknown crash history. Do not use a seat after a moderate or severe crash. Check your manual for crash replacement rules. Never use a seat past its expiration date. Plastic and webbing age over years.
If the seat still feels wrong after fixes
Get an inspection. Certified technicians teach, not judge. They will help you install and adjust. Bring your manuals and questions. Leave with hands-on skills. That one visit pays off for years of rides.
Final safety check, inspection options, and travel-day plan
Your safety check is a short routine. You can run it in three minutes. You can run it before discharge and monthly at home. Repetition builds calm. Calm parents notice changes faster. Calm also helps you drive better.
Three-minute exit check
- Angle: Bubble or line sits in range on flat ground.
- Movement: Under one inch at the belt path, side to side and front to back.
- Handle: Locked in the allowed drive position.
- Harness: Snug with the pinch test passed.
- Chest clip: At armpit level, centered on the sternum.
- Clothing: No puffy layers under the straps.
- Add-ons: Only items listed in the manual are used.
Find an inspection option early. Search for a Child Passenger Safety Technician. Many work through hospitals, community centers, or fire stations. Some departments no longer perform checks, so call first. Schedule during weeks thirty-five to thirty-seven if you can.
What to bring to an inspection (bullet list 3 of 3)
- Car seat and base, plus any infant inserts
- Vehicle owner’s manual with marked pages
- A doll or rolled towels to simulate baby fit
- Questions you wrote down during practice installs
Arrive with time for practice. You will install, not just watch. Ask how to switch between LATCH and seat belt. Ask how to set angle on hills. Ask how to transport the seat by rideshare or taxi. Leave with notes on your phone.
Plan your discharge ride. Confirm the car seat fits your car with the front seats set for driving. Place a light blanket near the seat. Pack a thin hat for cold days. Warm the car for a minute before buckling. Keep the cabin cool and quiet in heat.
Travel-day checklist, step by step
- Park on level ground if possible.
- Run the three-minute exit check.
- Dress baby in thin layers and socks.
- Buckle, tighten, and set the chest clip.
- Add a blanket over the harness.
- Place a spare outfit and diaper within reach.
- Drive calmly and leave extra space on the road.
Recheck fit at growth spurts. Babies change fast. Slot heights may need adjustment after a few weeks. Your manual shows how to move straps. Make changes when baby is awake and calm. Do a pinch test after each change.
Teach every caregiver the same routine. Grandparents and sitters need the steps. Share photos of correct harness fit. Share your three-minute exit check. Consistency protects safety when cars or drivers change.
If you change vehicles often, consider a second base. Install each base with the chosen method. Label each with painter’s tape: “Belt” or “LATCH.” This prevents mixing methods later. Small labels remove guesswork at 6 a.m.
If anxiety spikes, breathe and review your notes. You prepared carefully. You read both manuals. You practiced and checked. Safety thrives on process more than perfection. Follow the process and drive with care.
Frequently Asked Questions
Is the center seat always safest?
Often, if you achieve a tight install and manuals allow it. A solid outboard install is safer than a loose center install.
Can I use the lower anchors and the seat belt together?
Usually no. Use one method unless your seat manual clearly allows using both. When in doubt, choose one and install tightly.
How tight is tight enough?
At the belt path, the seat should move less than one inch. Test with short, firm motions using your non-dominant hand.
What angle should I use for a newborn?
Use the newborn range on your seat’s indicator. Keep the bubble or line in range on level ground to protect the airway.
Do I need an inspection with a certified technician?
It is strongly recommended. Technicians teach correct install and fit. Book in the third trimester and bring both manuals.