Cradle cap didn’t budge until I used a gentle, step-by-step routine: soften with a simple oil, loosen with a soft brush, wash with a mild shampoo, and repeat just a few times a week. Here’s the exact method, safety rails, a 7-day plan, and when to call your pediatrician for help.
- What cradle cap is (and isn’t) and why it hangs on
- Safety first: red flags and when to call your pediatrician
- The DIY routine that cleared scales quickly
- Oil choices, patch testing, and mix-and-measure basics
- Shampoo, brushes, and bath timing that work
- Gentle 7-day plan and longer maintenance
- Eyebrows, behind ears, and sensitive spots
- Tools to keep handy, what to avoid, and FAQs
What cradle cap is (and isn’t) and why it hangs on
Cradle cap—pediatric seborrheic dermatitis—shows up as waxy, yellow-white scales on the scalp of otherwise comfortable babies. It’s not a hygiene problem and usually isn’t itchy. Many parents notice it around weeks 3–12, often with mild redness at the hairline, eyebrows, or behind the ears. It tends to improve on its own within months, but thick, stuck scales can linger and snag on hats or trap lint, making the area look worse than it feels.
Why it persists: newborn skin is still learning to regulate oil; Malassezia yeast (a normal skin dweller) enjoys that oil; and scales stack because they don’t shed evenly yet. The fix is not scrubbing hard; it’s about softening, lifting, and washing in a predictable rhythm while protecting delicate skin.
Cradle cap is different from atopic dermatitis (eczema), which is often very itchy and dry, with patches on the cheeks, torso, and limb creases. It’s also different from an infection, which can ooze or hurt. Knowing the difference steers you to a gentle, effective plan rather than experiments that irritate.
Safety first: red flags and when to call your pediatrician
Most cradle cap can be cared for at home, but some signs call for medical advice:
- Significant redness, swelling, warmth, or oozing/yellow crusts
- A bad smell, bleeding, or your baby seems uncomfortable or in pain
- Spreads beyond the scalp with raw, cracked skin that looks infected
- Fever, poor feeding, or your baby seems unwell
- Thick scale that doesn’t budge after several weeks of gentle care
- Hair loss in clumps or a ring-shaped hairless patch
- Your baby is under two weeks old, premature, or has a known skin condition
If your child has known food allergies, severe eczema, immune concerns, or you’re unsure whether it’s cradle cap, pause DIY steps and ask the pediatrician first. If eyebrows or eyelids are involved, you’ll use a modified routine—no oils dripping into the eyes, ever.
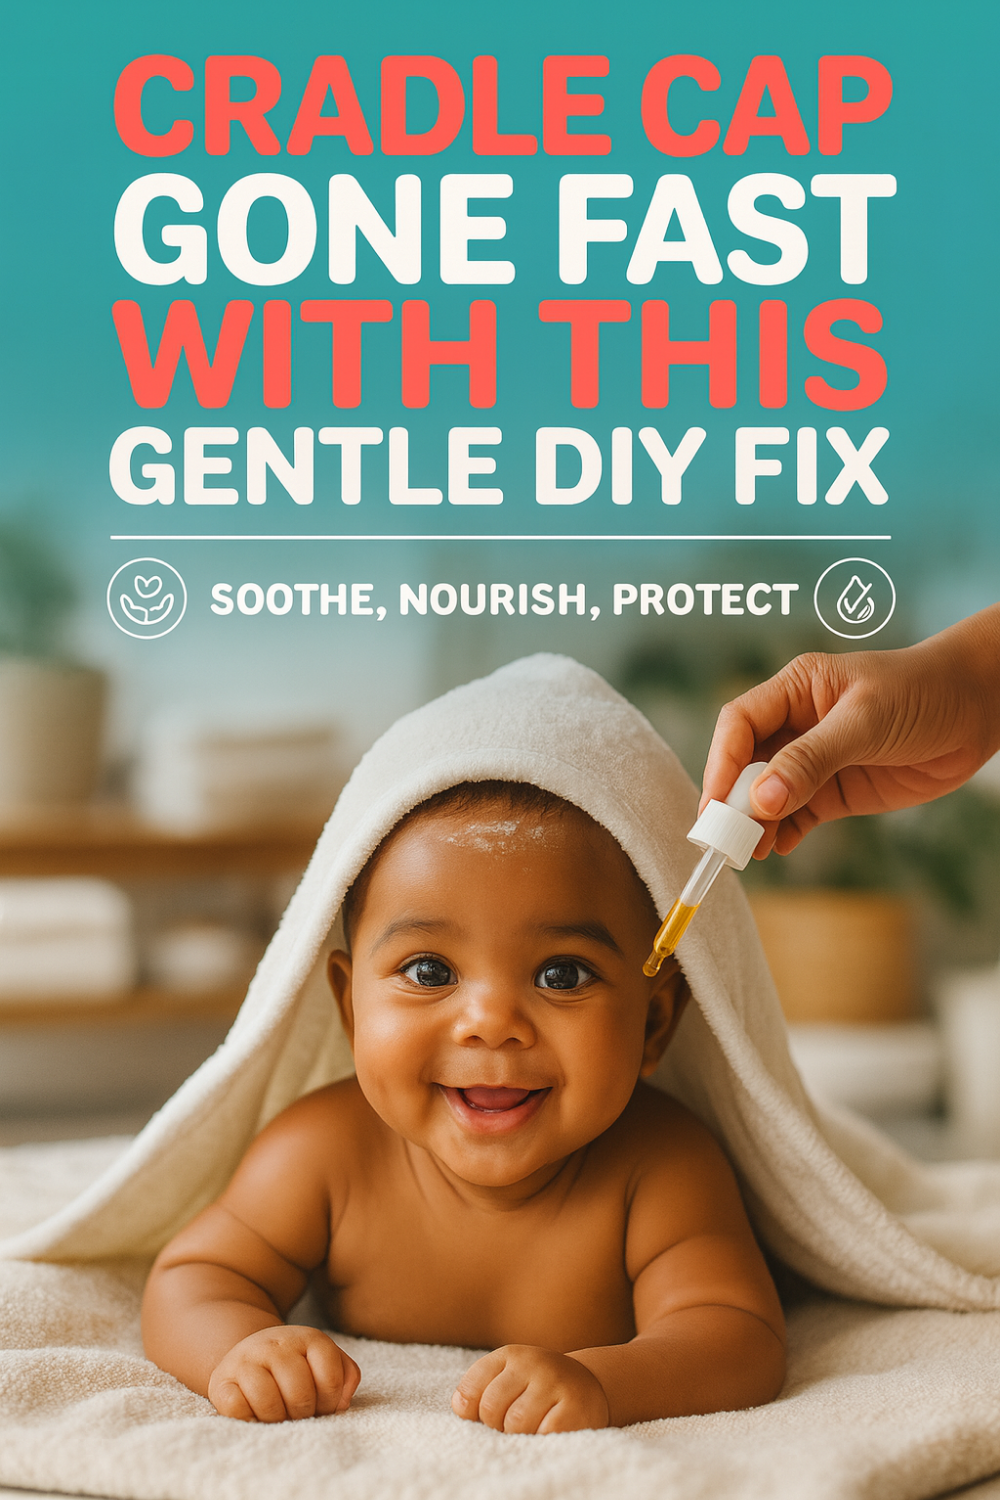
The DIY routine that cleared scales quickly
The winning method uses softening + gentle lift + mild wash, done a few times per week. No scraping, no harsh chemicals, no essential oils. Keep the sequence steady and your touch light.
Cradle cap routine (single session, about 20–30 minutes)
- Soften
Warm a pea-size amount of a simple, fragrance-free oil between your fingers and dab it onto the scaly areas. Massage very lightly in small circles for one minute. Let the oil sit 10–15 minutes to soften the scale. - Loosen
Using a soft baby brush or silicone scrubber, glide with the grain of the hair in short, gentle strokes. Think “dusting,” not “scraping.” If flakes lift easily, continue; if they resist, stop—more soaking helps, force doesn’t. - Wash
Rinse with warm water, then shampoo with a mild, fragrance-free baby shampoo. Lather for 30–60 seconds, rinse thoroughly, and pat dry with a soft towel. - Finish
If the scalp skin looks a bit pink afterward, leave it alone; that’s normal after scale lift. Do not re-oil immediately after washing—let the scalp breathe. Put on a soft hat only if going outside. - Repeat cadence
Repeat this session two to three times weekly. On non-treatment days, just wash and pat dry as usual.
This rhythm removed build-up without turning the scalp tender. The key is the order and the pause: soften long enough for easy lift, then stop the moment resistance returns.
Oil choices, patch testing, and mix-and-measure basics
Babies’ skin is sensitive and can react to fragrance or heavy plant oils. Choose a plain, inert oil for short softening sessions and rinse it off.
What worked best for us:
- Mineral oil (plain baby oil without fragrance)
- Sunflower seed oil (high-oleic, food-grade; patch test)
- Squalane (light, non-fragrant; a few drops go far)
What to skip: tea tree oil, essential oils, menthol, camphor, eucalyptus, undiluted herbal extracts, thick butter mixes, and anything scented. Olive oil is mixed—some babies tolerate it, others don’t—so only try if your pediatrician gives the okay and your patch test is calm.
Mini patch test for baby’s scalp
- Dab a drop of the oil behind the ear or at the hairline.
- Wait 24 hours. If no redness, swelling, or rash appears, proceed.
- During the first full session, watch for pinkness that fades within an hour. Persistent redness or irritability means stop and switch oils or consult the pediatrician.
Aim for the smallest amount of oil that leaves a light sheen—no pooling. Too much oil makes washing harder and can trap lint.
Shampoo, brushes, and bath timing that work
Shampoo: pick a gentle, fragrance-free baby shampoo with a short ingredient list. You don’t need an anti-dandruff formula unless the pediatrician recommends one. If a medicated shampoo (like a low-strength pyrithione zinc or ketoconazole) is prescribed, use it exactly as directed and stop when scales clear.
Brushes: a soft baby brush, silicone scalp scrubber, or a clean, soft toothbrush for tiny areas can all work. Replace tools if bristles roughen. Before each session, wash the brush with warm water and a drop of baby shampoo, rinse, and air-dry.
Bath timing: the soften-loosen-wash sequence fits best just before or during a warm bath. If naps or feeds interrupt, pause and finish later; never rush a fussy baby through a routine. Happy, relaxed babies tolerate touch better—and you’ll be gentler too.
Laundry: wash hats and crib sheets weekly with fragrance-free detergent; skip fabric softeners that can leave residue. Clean stroller and car-seat headrests periodically—helmets and headrests can press flakes back onto the scalp.
Gentle 7-day plan and longer maintenance
Most babies look noticeably better within a week. This plan stacks small wins without overdoing it.
7-day cradle cap plan
- Day 1: Soften, loosen, wash. Photograph for baseline.
- Day 2: Rest—just a regular bath and pat dry.
- Day 3: Repeat soften, loosen, wash. Use less oil if flakes lift easily.
- Day 4: Rest; gentle brush during bath if baby enjoys it.
- Day 5: Third treatment session. Stop the moment resistance returns.
- Day 6: Rest; skip hats indoors; keep the room cool and dry.
- Day 7: Assess. If 70–90% better, shift to once-weekly maintenance. If little change, call the pediatrician.
Maintenance: once scales are gone, a light brush during bath and a normal shampoo keep the scalp clear. If a few flakes reappear, do one short soften-loosen-wash session, then resume normal routine.
If the pediatrician suggests a medicated plan (short course of an antifungal or mild hydrocortisone for overlapping eczema), follow their steps and pause DIY oiling until cleared.
Eyebrows, behind ears, and sensitive spots
Cradle cap often drifts to eyebrows, behind ears, and the crown. Modify the routine:
Eyebrows: skip pooled oil. Instead, massage a drop of squalane or mineral oil onto your fingertip, then glide across the brow in the direction of hair growth. Let sit five minutes, then wipe gently along hair growth with a damp cotton round. Do not rub back and forth. No drips into eyes.
Behind ears: soften with a micro-drop on clean skin, wait five minutes, then wipe; finish with a quick rinse and pat dry. Keep folds dry after baths.
Fontanelle (soft spot): safe to touch lightly. Your fingers and a soft brush can skim across it; don’t press. Let scales lift when they’re ready.
If any area looks raw, oozes, or baby seems uncomfortable when touched, stop and ask the pediatrician. Overlap with eczema is common; the care plan changes.
Tools to keep handy, what to avoid, and FAQs
Keep a simple kit together so you’re not rummaging while holding a wiggly baby.
Cradle cap kit
- Fragrance-free baby shampoo
- Mineral oil or squalane (tiny bottle)
- Soft baby brush or silicone scrubber
- Clean cotton rounds and soft washcloths
- Fragrance-free laundry detergent
- Phone for quick baseline photos and progress
What to avoid and why:
- Picking or scraping scales: risks scratches, infection, and hair breakage.
- Essential oils and home “antifungal” mixes: can burn baby skin.
- Heavy, scented ointments left on the scalp: trap heat and lint.
- Hot water, rough towels, vigorous rubbing: increases redness.
- Daily oiling: over-softens skin and complicates washing.
Frequently Asked Questions
Is cradle cap itchy or painful for my baby?
Usually no—most babies seem unbothered. If your baby is irritable, scratching, or the skin looks raw or oozing, call the pediatrician to check for infection or overlapping eczema.
Can I use coconut or olive oil?
Some babies tolerate them; others don’t. Start with mineral oil or squalane, which are lighter and less reactive, and patch test any oil behind the ear before a full session.
Should I try anti-dandruff shampoo?
Only if your pediatrician recommends it and for a short course. Many cases clear with the soften-loosen-wash routine alone.
Will brushing cause hair loss?
Gentle brushing does not. Hairs shed normally with the scale that was trapping them. Avoid force; if flakes resist, soak longer and try again later.
How long until it clears?
Often one to three weeks with two to three sessions weekly. Some babies take longer; steady, gentle care works better than daily scrubbing.