Starting your day with a gentle yet effective cleanser can dramatically improve your skin’s health, texture, and glow. A homemade honey-oat cleanser combines the calming, nourishing power of oats with honey’s natural antimicrobial and hydrating properties, creating the perfect morning skincare staple for all skin types, including sensitive and acne-prone skin. In this comprehensive guide, you’ll clearly learn how to make this gentle cleanser at home, understand its skin benefits, and discover easy ways to incorporate it into your daily morning routine.
- Why Choose Honey and Oats for Morning Cleansing?
- Clear Benefits of Honey-Oat Cleansing for Your Skin
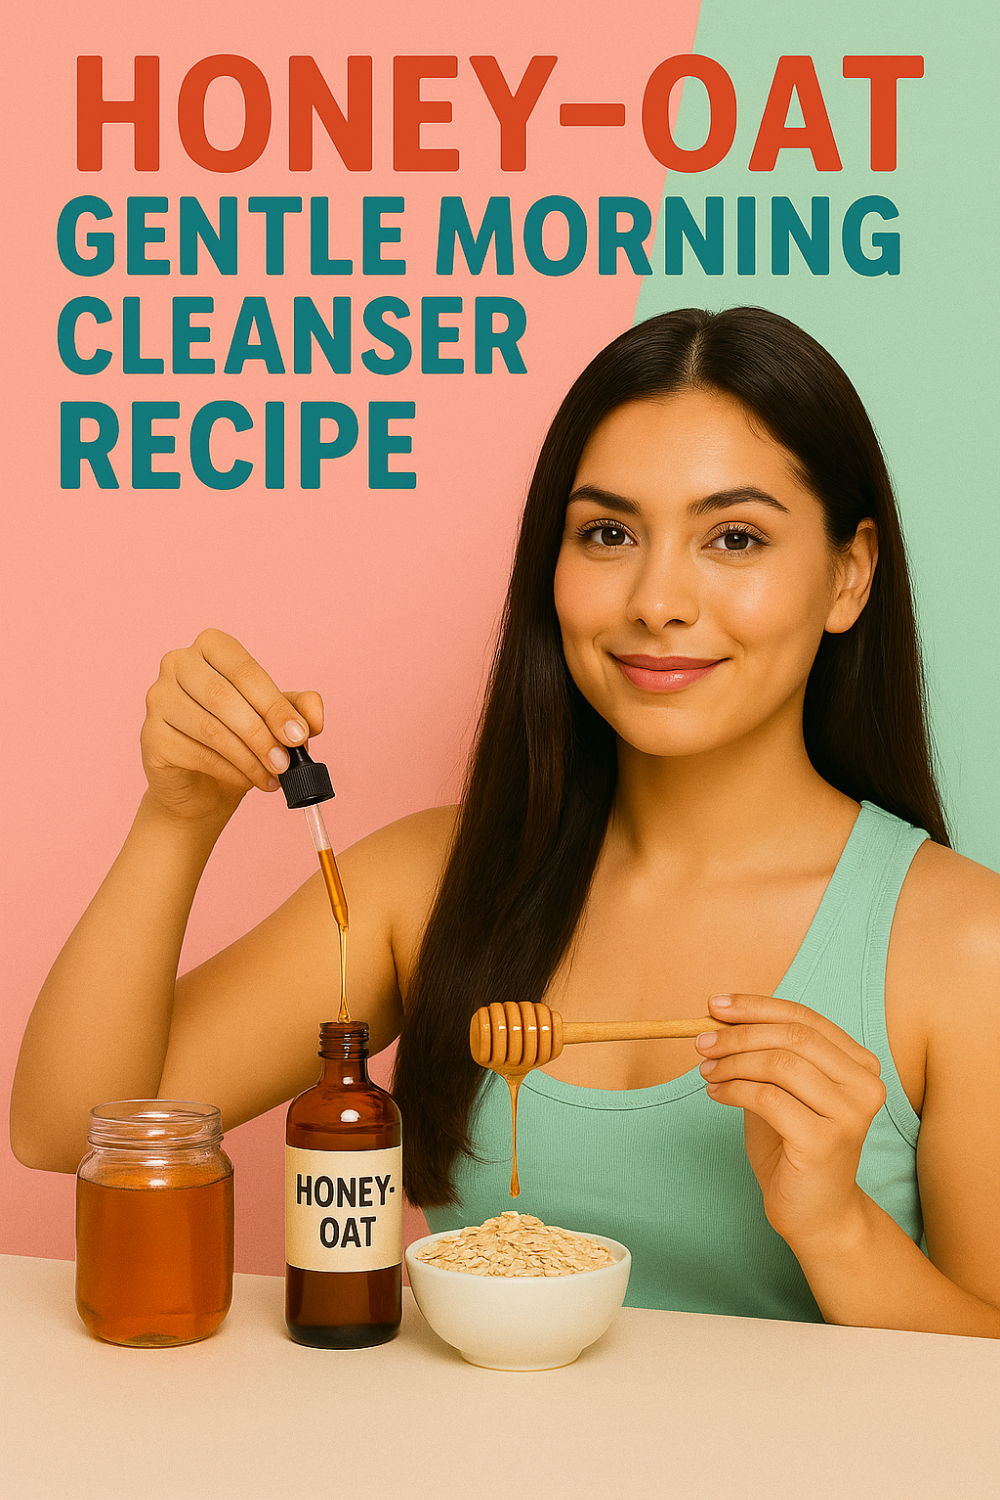
- Ingredients You’ll Need for Your DIY Cleanser
- Step-by-Step DIY Honey-Oat Gentle Morning Cleanser Recipe
- How to Properly Use Your Honey-Oat Cleanser Each Morning
- Practical Tips for Maximizing Your Cleanser’s Benefits
- Common Mistakes to Avoid When Making Your Own Cleanser
- Adjusting Your Cleanser for Different Skin Types and Seasons
Why Choose Honey and Oats for Morning Cleansing?
Honey and oats provide gentle yet powerful skincare benefits, making them ideal for morning cleansing. Honey naturally hydrates, soothes inflammation, and reduces bacteria, promoting clear, balanced skin. Oats offer calming, anti-inflammatory properties, gently exfoliating while restoring skin moisture and barrier strength. Together, they cleanse without stripping natural oils, ensuring your skin remains soft, balanced, and comfortably hydrated throughout the day.
Clear Benefits of Honey-Oat Cleansing for Your Skin
Regularly cleansing your skin with a honey-oat mixture clearly offers numerous benefits:
- Gentle Exfoliation:
Oats softly remove dead skin cells without irritation, improving skin texture and brightness. - Deep Hydration:
Honey naturally hydrates, locking moisture into your skin, reducing dryness and flakiness. - Reduces Inflammation and Redness:
Both oats and honey have anti-inflammatory properties, effectively calming redness, acne irritation, and sensitive skin. - Balances Skin pH and Oil Production:
Honey balances your skin’s natural pH and controls oil, preventing breakouts and leaving skin balanced and healthy. - Suitable for All Skin Types:
Gentle enough for daily use, perfect for sensitive, acne-prone, dry, oily, or combination skin.
Ingredients You’ll Need for Your DIY Cleanser
Gather these simple, natural ingredients clearly suited for effective skincare:
- Rolled Oats (finely ground): Provide gentle exfoliation and soothing properties.
- Raw Honey: Natural antibacterial, hydrating, and soothing ingredient.
- Distilled Water or Rosewater: Helps create the right consistency and adds extra calming properties.
- Optional Additions: Aloe vera gel, almond oil, jojoba oil, or essential oils (like lavender or chamomile) for added soothing and moisturizing benefits.
Step-by-Step DIY Honey-Oat Gentle Morning Cleanser Recipe
Follow these easy steps to create your gentle, natural morning cleanser:
Ingredients:
- ½ cup finely ground rolled oats
- ¼ cup raw honey
- ¼ cup distilled water or rosewater
- 1 teaspoon aloe vera gel (optional)
- 1 teaspoon jojoba oil or almond oil (optional)
- 2–3 drops lavender essential oil (optional)
Instructions:
Step 1: Prepare the Oats
Use a blender or food processor to grind oats finely into a gentle powder to ensure smooth application.
Step 2: Combine Ingredients
In a clean glass bowl, mix ground oats, raw honey, and distilled water (or rosewater) thoroughly until you have a creamy, paste-like consistency.
Step 3: Add Optional Ingredients (If Using)
Gently stir in aloe vera gel, jojoba oil, almond oil, or a few drops of lavender essential oil to boost hydration and calming effects.
Step 4: Transfer to Storage Jar
Transfer your homemade cleanser into a clean, sterilized glass jar with an airtight lid for convenient storage.
Your cleanser will remain fresh for approximately 7–10 days when stored in the refrigerator.
How to Properly Use Your Honey-Oat Cleanser Each Morning
Integrate your DIY cleanser into your daily morning skincare routine clearly following these steps:
- Step 1: Moisten Your Skin
Wet your face gently with warm (not hot) water to open pores and prepare skin for cleansing. - Step 2: Apply Cleanser
Scoop a small amount of your honey-oat cleanser into your fingertips. Gently massage onto your face using soft, circular motions for approximately 30–60 seconds. - Step 3: Rinse Thoroughly
Rinse your face completely with warm water, ensuring all cleanser residue is removed. - Step 4: Pat Dry and Moisturize
Gently pat your face dry with a soft towel and follow immediately with your favorite non-comedogenic moisturizer and sunscreen.
Use daily for best results, leaving your skin consistently calm, balanced, and glowing.
Practical Tips for Maximizing Your Cleanser’s Benefits
Enhance your cleanser’s effectiveness clearly with these simple skincare tips:
- Keep it Fresh:
Store your cleanser refrigerated, using clean fingers or a spoon each use to prevent contamination and maximize freshness. - Adjust Consistency:
Easily adjust the texture with additional distilled water or honey to suit your personal preference. - Gentle Application:
Always massage gently without aggressive scrubbing to prevent irritation or redness. - Combine with Gentle Skincare:
Use mild toners, moisturizers, and sunscreen daily to complement your cleanser’s benefits and maintain optimal skin health.
Common Mistakes to Avoid When Making Your Own Cleanser
Avoiding these frequent DIY skincare mistakes ensures your honey-oat cleanser remains safe and effective:
- Not Grinding Oats Enough:
Coarse oats can irritate skin. Always finely grind oats for a smooth, gentle consistency. - Using Hot Water:
Hot water can irritate and dry out skin. Always rinse with warm or lukewarm water. - Ignoring Storage Conditions:
Always refrigerate your cleanser promptly after use to avoid bacterial growth and maintain freshness. - Using Harsh Ingredients:
Avoid adding harsh exfoliants or fragrances that may irritate sensitive skin.
Adjusting Your Cleanser for Different Skin Types and Seasons
Easily adapt your cleanser recipe clearly according to your skin type and seasonal needs:
- Dry or Sensitive Skin / Winter:
Increase honey or add a teaspoon of almond oil or aloe vera gel for additional hydration. - Oily or Acne-Prone Skin / Summer:
Slightly increase oats or add a drop of tea tree essential oil to enhance gentle exfoliation and antibacterial benefits.
Frequently Asked Questions (FAQs)
- Is honey-oat cleanser safe for acne-prone skin?
Yes, it’s gentle, anti-inflammatory, and antibacterial—perfect for reducing acne without irritation. - How long can I store the honey-oat cleanser?
Properly refrigerated, it remains fresh for 7–10 days. Always discard if the scent or texture changes. - Can I use this cleanser twice daily?
Yes, it’s gentle enough, but typically ideal as a calming, nourishing morning cleanser. - Can I substitute honey with another ingredient?
Honey is preferred for its natural antibacterial and hydrating properties, but aloe vera gel or agave syrup can be alternatives. - Should I follow up with moisturizer afterward?
Yes, always apply a moisturizer afterward to lock in hydration and maintain your skin’s moisture barrier.