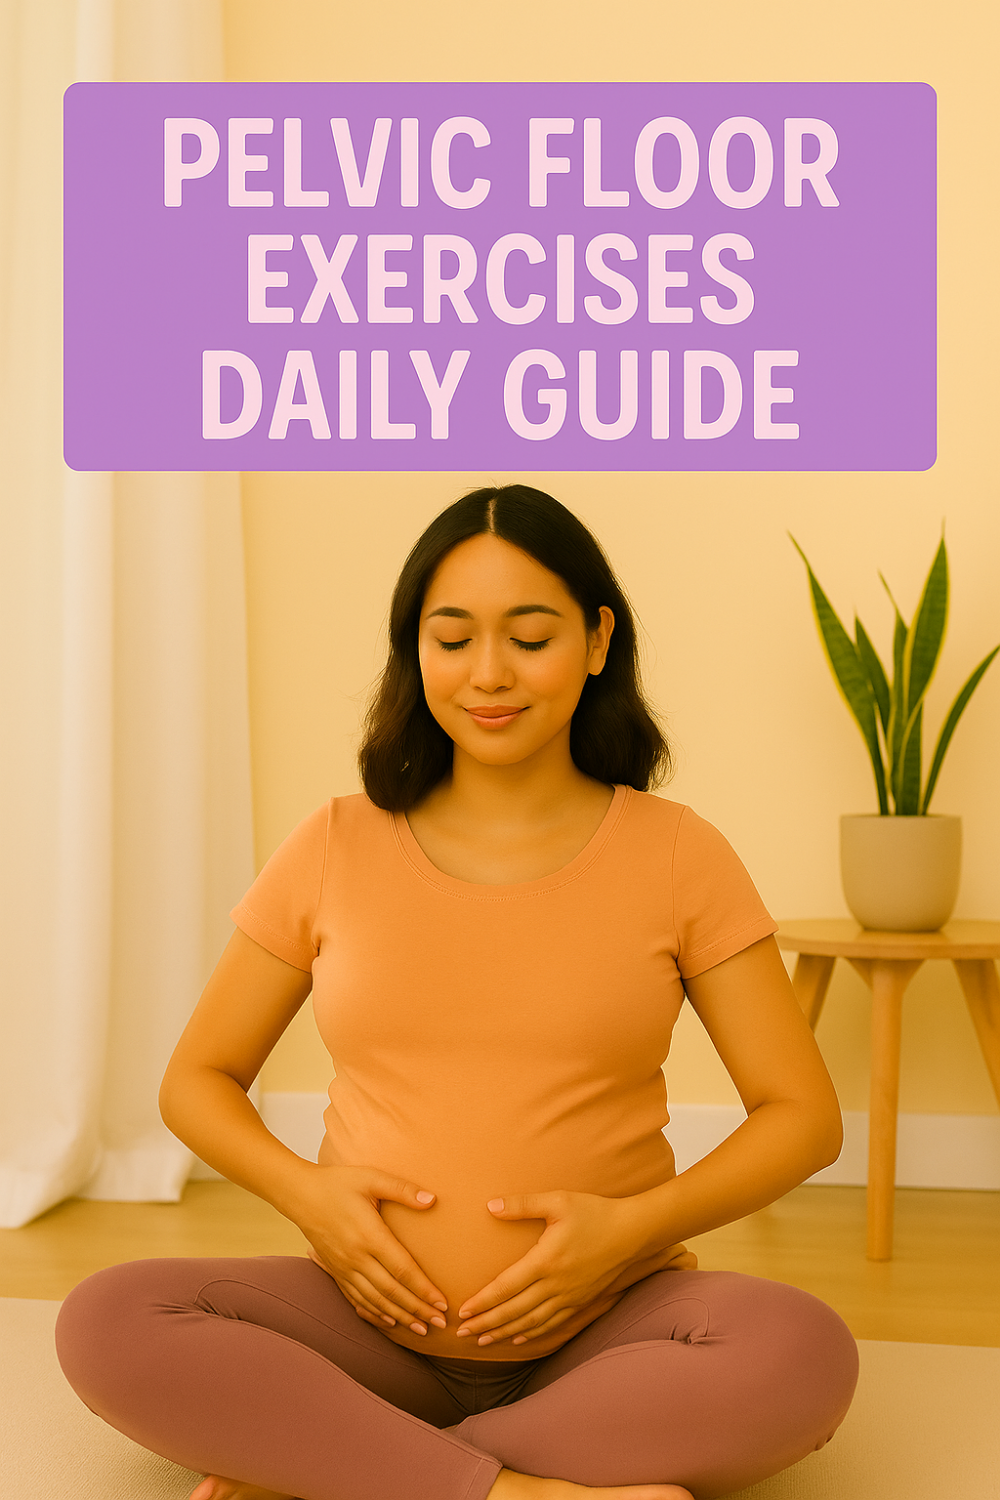
Pelvic Floor Exercises Daily Guide offers safe, practical routines for pregnancy. Learn breath-led release, gentle activation, posture, and daily habits. Build confident movement with trimester tweaks, functional strength, and calm recovery.
- Understand your pelvic floor changes in pregnancy
- A daily 10-minute routine: release, breathe, activate
- Posture and pressure management for everyday moves
- Trimester tweaks and positioning safeguards
- Functional strength pairings that support the floor
- Troubleshooting leaks, pressure, and discomfort
- Weekly schedule, progress tracking, and recovery
Understand your pelvic floor changes in pregnancy
The pelvic floor is a hammock of muscles and connective tissue. It spans from your pubic bone to your tailbone. It supports the bladder, uterus, and bowel. It also contributes to posture, continence, and sexual function.
What changes across trimesters
Blood volume increases and tissues become more elastic. Hormones soften ligaments and fascia. The uterus grows and lowers abdominal pressure tolerance. These normal shifts change how your core manages load. Your plan should respect those changes.
Why daily practice helps
Small, consistent sessions build awareness. They teach your brain and muscles to coordinate. They reduce over-gripping patterns that fatigue tissues. They also prepare you for the demands of late pregnancy, birth, and recovery.
Release before you strengthen
Many people clench without knowing it. Clenching can mask weakness and raise pressure. Releasing first improves circulation and sensation. After release, gentle activation lands where you intend. This order protects comfort.
What a good contraction feels like
A healthy pelvic floor contraction feels like a lift and narrow. Imagine sipping a blueberry through a straw. The lift is subtle and upward. Glutes and abs should not take over. Breath remains smooth and quiet.
What a good release feels like
Release feels like a softening and widening. Imagine a flower blooming downward. Jaw and shoulders also soften. Breath expands the ribcage easily. Ease is your signal, not collapse or bearing down.
Safety first, always
Stop any drill that triggers sharp pain. Pause if you feel pressure downward. If you notice leaking that worsens with practice, reduce effort. Use shorter holds. Ask your clinician for guidance if concerns persist.
A daily 10-minute routine: release, breathe, activate
This quick routine builds calm, repeatable skill. Use it once daily. On busy days, split it into two five-minute blocks. Keep cues short. Keep effort gentle. Quality beats intensity every time.
Mini gear list for comfort
- A firm pillow or folded towel
- A yoga block or small cushion
- A chair or wall for support
Place props within reach. Soft support invites release. Clear space reduces fidgeting and strain.
Position 1: side-lying release breaths
Lie on your left side with knees bent and a pillow between them. Stack hips and shoulders. Place one hand on your low ribs. Inhale softly through your nose. Exhale longer than you inhale. On inhales, imagine the pelvic floor widening. On exhales, feel the body settle. Take eight cycles. Switch sides for eight more if time allows.
Position 2: child’s pose with a pillow
Kneel with knees wide and big toes touching. Place a pillow under your chest and head. Hinge at the hips. Rest your forearms on the pillow. Breathe gently into your back ribs. Feel the sit bones drift apart on the inhale. Exhale and let jaw and belly soften. Stay for eight slow breaths.
Position 3: tall-kneeling rib breath
Come to tall kneeling with a folded towel under knees. Place hands around your lower ribs. Inhale and feel ribs widen under your hands. Exhale, let them knit toward center. Keep pelvis neutral and jaw soft. Take six breaths.
Position 4: gentle activation pulses
Stay tall-kneeling or sit on a cushion. Inhale to release fully. Exhale and lift the pelvic floor at thirty percent effort. Imagine zipping from tailbone to pubic bone. Hold for three to four seconds. Inhale and release completely. Repeat ten gentle pulses. Keep glutes quiet and breath smooth.
Position 5: exhale-to-move bridges
Lie on your side to roll onto your back only if it feels okay, torso slightly elevated with pillows. Knees bent, feet hip-width. Inhale to release, then exhale and gently lift the floor as you press through your feet. Raise hips one to two inches. Inhale, lower and release. Do eight slow reps. If back-lying is uncomfortable, perform these as seated hip hinges on a chair.
Position 6: supported squat breath
Stand with feet wider than hips. Hold a countertop or the back of a chair. Inhale to release. Exhale and lift the floor lightly while bending knees a small amount. Keep ribs stacked over pelvis. Inhale and stand tall, fully releasing. Do eight slow reps.
Position 7: urge-resist drill
Stand near support. When you feel a sudden urge to void, pause. Take a long exhale with a gentle lift. Then walk calmly to the bathroom. You are teaching your system control without strain. Practice once daily even without urgency, as a rehearsal.
Position 8: cool-down release
Return to side-lying. Take six longer exhales. Imagine the floor softening like warm taffy. Finish with two yawns to relax the jaw. Stand slowly, then sip water.
Daily 10-minute checklist (at a glance)
- Side-lying release breaths × 8
- Child’s pose supported × 8
- Tall-kneeling rib breaths × 6
- Gentle activation pulses × 10
- Exhale-to-move bridges × 8
- Supported squats × 8
- Urge-resist rehearsal × 1
- Cool-down release × 6
This routine is your anchor. Scale reps down on heavy days. Keep the order when possible.
Posture and pressure management for everyday moves
Pelvic floor comfort depends on pressure management. Posture shapes pressure. Breath directs it. Everyday moves matter as much as exercises. Small habits stack up.
The stack: ribs over pelvis
Imagine your ribcage resting like a bowl over your pelvis. Avoid tipping the bowl forward or back. Let your neck grow tall. Unlock knees. This stack reduces downward pressure. It also improves breathing space.
Exhale to move, inhale to prepare
Use the breath to time effort. Inhale to prepare and release. Exhale to stand, lift, or push. The exhale gently lifts and supports. It coordinates your system without bracing. Practice on stools, beds, and car seats.
Hinge, don’t fold
When picking up items, hinge at the hips. Keep your spine long. Let shins stay vertical. Exhale as you stand up. This pattern spares the pelvic floor from sudden pressure spikes. It also protects the back.
Carry with care
Carry loads close to your body. Split heavy bags into two lighter ones. Switch hands often. Exhale during the heaviest effort. Stop for a breath if pressure rises. Small changes keep symptoms quiet.
Cough, sneeze, and laugh support
Before a cough, lean forward slightly. Place a hand on a support if available. Exhale as the cough begins. You can also do a quick, gentle pre-lift. That lift should be light, not braced. Then fully release.
Toilet positioning basics
Place feet on a small stool so knees are above hips. Lean forward with a long spine. Rest forearms on thighs. Inhale into back ribs and belly. Exhale softly. Do not bear down. If stooling feels stuck, pause and breathe longer. Return later if needed.
Desk and car strategies
Long sitting stiffens hips and ribs. Set a movement reminder every hour. Stand and breathe wide into the back. Take ten relaxed steps. Loosen your jaw. Re-stack your ribs over your pelvis. Two minutes can reset comfort.
Trimester tweaks and positioning safeguards
Your plan should evolve with your body. Comfort, balance, and circulation guide changes. Use these trimester-aware cues for safer practice.
First trimester: establish rhythm
Energy can swing. Keep sessions short and gentle. Emphasize release skills. Avoid overheating in hot rooms. Any supine work should be brief and propped. Stop if dizziness or nausea rises.
Second trimester: expand with care
Space often feels better now. Add volume slowly. Keep effort moderate. Avoid strong closed twists against the belly. Back-lying can still be brief with elevation. Side-lying becomes a great default for release.
Third trimester: protect space and balance
Balance shifts and breath shortens. Use wide stances and more support. Replace longer back-lying holds with side-lying. Choose standing moves near a wall. Keep strides short in all squats and hinges. Comfort leads the plan.
Supine time and alternatives
After mid-pregnancy, prolonged supine positions may reduce circulation. If you lie back, prop your torso. Stop if you feel lightheaded or short of breath. Side-lying or upright positions work beautifully and keep breath easy.
When to pause a session
- Vaginal bleeding, fluid leakage, or painful contractions
- Chest pain, severe shortness of breath, or dizziness
- New swelling, severe headache, or vision changes
- Sharp pelvic pain or pressure that does not settle
Stop and contact your clinician if any appear. Safety outranks streaks every time.
Functional strength pairings that support the floor
The pelvic floor works with hips, glutes, and deep abdominals. Train the system, not just one muscle. Pair gentle activation with simple strength moves. Keep breath leading every rep.
Supported squat pairing
Stand with feet wider than hips. Hold a countertop. Inhale to release. Exhale and lift the floor lightly as you bend knees. Keep ribs stacked. Stand on an inhale, releasing. Do two sets of six. Rest between sets with three release breaths.
Hip hinge pairing
Stand tall with a broomstick along your spine. Hinge at the hips with a long back. Inhale to release at the bottom. Exhale with a light lift as you stand. Keep glutes working but not gripping. Do two sets of six.
Bridge or chair-hinge pairing
If back-lying is comfortable, perform small bridges with exhale-to-move. If not, use a chair hinge. Sit tall, hinge forward slightly, then exhale and stand with a gentle lift. Repeat six to eight times. Rest and release.
Side-lying clamshell pairing
Lie on your side with knees bent. Place a pillow between knees if helpful. Inhale to release. Exhale and lift the top knee a small amount. Keep pelvis still. Do eight gentle reps, then release for four breaths. Switch sides.
Farmer carry in place
Stand with light dumbbells or two grocery bags. Ribs stack over pelvis. Inhale to release. Exhale and lift lightly while taking six slow steps. Set weights down. Release fully. Repeat twice. If steps feel jarring, march in place.
Tempo, range, and recovery
Slow tempos teach control. Small ranges protect comfort. Add range only if breath remains calm. Log how you feel the next day. If heaviness appears, reduce volume. Your notes will guide progression.
Troubleshooting leaks, pressure, and discomfort
Symptoms are messages. They help you adjust the plan. Most issues improve with release, posture, and gentler activation. Use curiosity, not judgment.
If you notice stress leaks with coughs or lifts
Layer in pre-exhale support before effort. Practice quick, light lifts paired with short exhales. Strengthen glutes and calves to share load in squats. Reduce sudden jumps in volume. Keep sessions consistent.
If you feel heaviness after walks or chores
That heaviness could be fatigue. Shorten routes and break tasks. Use exhale-to-move more often. Sit for a few release breaths midday. Elevate hips slightly while side-lying. Repeat for several days before testing longer sessions.
If you feel sharp, localized pain
Sharp pain is a stop sign. Rest and use release positions. Avoid drills that reproduce the pain. If pain persists, contact your clinician. Seek tailored advice for your situation. Personal plans beat guesswork.
If you notice urinary urgency
Practice the urge-resist drill. Pause, long exhale, gentle lift, then walk calmly to the bathroom. Reduce bladder irritants if they bother you. Examples include very spicy foods or carbonated drinks. Hydrate steadily rather than chugging.
If constipation increases pressure
Use a footstool and lean-forward posture. Increase fiber gradually with fluids. Take short walks to stimulate movement. Pair stooling with long, quiet exhales. If discomfort persists, ask your clinician about additional options.
If diastasis recti worries you
Diastasis is a normal abdominal adaptation. Manage pressure with exhale-to-move. Avoid long planks if doming appears. Use side-lying and elevated drills instead. Focus on wide rib breathing. Gentle control beats hard bracing.
Quick cue recap for tough moments
- Inhale to release; exhale to support
- Ribs stacked over pelvis, jaw soft
- Small range first; quality over quantity
- Stop sharp pain; choose comfort and breath
Language matters. Say “support” and “release,” not “squeeze” and “clench.” Your body listens to your words.
Weekly schedule, progress tracking, and recovery
Consistency and kindness deliver results. A small plan prevents decision fatigue. Tracking teaches which choices help most. Recovery preserves progress.
A simple week that works
Day 1: Daily 10-minute routine + supported squats
Day 2: Routine + hip hinges + short walk
Day 3: Routine only, longer release breaths
Day 4: Routine + clamshells + bridge or chair hinge
Day 5: Routine + farmer carry in place
Day 6: Routine only or rest
Day 7: Routine + gentle side-lying stretch
Swap days freely. Keep at least one lighter day. If fatigue lingers, drop one strength pairing and keep release practice.
Progress markers you can feel
Look for calmer breath during chores. Notice fewer urgency spikes. Feel steadier during coughs and sneezes. Sense easier posture during walks. These markers matter more than rep counts. Write one line after practice to capture them.
How to scale up safely
Increase holds by one breath per week. Add two reps to one move each week. Keep total session time near ten to fifteen minutes. If heaviness or leaks appear, scale down for several days. Resume progress slowly.
Recovery you will actually do
Drink water after sessions. Take a warm shower for tight hips. Sit with feet up for five minutes. Sleep remains the best recovery tool. Keep a simple wind-down ritual at night. Small routines protect consistency.
When to ask for personalized help
If symptoms escalate or do not improve, consult your clinician. Ask about a referral to a pelvic health physical therapist. Bring your notes and what you have tried. Tailored guidance accelerates progress.
Frequently Asked Questions
How often should I do pelvic floor exercises during pregnancy?
Daily, in small doses. Ten focused minutes with release, breath, and gentle activation works well for many people.
Are Kegels safe in pregnancy?
Yes, when gentle and paired with full release. Avoid hard, sustained bracing. Quality and breath matter more than maximal effort.
Should I feel my glutes and abs working too?
They can assist, but they should not dominate. If they take over, reduce effort and return to release cues.
Can I overdo pelvic floor training?
Yes. Signs include tension, discomfort, or increased urgency. Reduce holds, increase release work, and rest more days.
What if back-lying positions feel uncomfortable?
Use pillows to elevate your torso, or switch to side-lying. Many drills adapt easily without losing benefit.