Post-C-Section Incision Care Basics shows simple routines for clean, calm healing. Learn supplies, cleaning steps, pain control, and red flags. Use gentle movement, smart clothing, and daily checks to protect comfort while you regain momentum.
- Understand your incision type and healing timeline
- Supplies, setup, and first 48-hour routines
- Daily cleaning, drying, and dressing techniques
- Movement, posture, and support for less strain
- Pain management, swelling, and scar care basics
- Red flags, infection signs, and when to call
- Return to activity, clothing, and comfort tips
Understand your incision type and healing timeline
Your cesarean incision is a doorway your body now must close. Clean habits, gentle motion, and steady checks guide that closure. Knowing the kind of incision and the usual timeline reduces guesswork and worry.
Common incision types in simple terms
Most often, the skin incision is horizontal and low. That line sits near your bikini area. Some people have a vertical skin incision. The uterine incision can differ from the skin incision. Your surgeon’s note explains your pattern.
What healthy healing usually looks like
Early days show swelling and tenderness. The line may appear pink or slightly raised. Stitches or staples vary by hospital. Glue may cover the line. Mild clear or light pink moisture can appear. The area should trend calmer each day.
Week-by-week overview you can trust
Days 0–3. Focus on pain control and gentle movement. Keep the area dry. Staff guide early care.
Days 4–7. Swelling begins to drop. You learn your shower routine. You also practice safe sit-to-stand.
Week 2. Itching may start. That is common. Redness should not spread. Pain should trend lower.
Weeks 3–4. Energy grows slowly. The line feels less tender. Walking sessions lengthen gently.
Weeks 5–6. Many receive clearance for more activity. Some need longer. Your follow-up decides timing.
Why timelines vary
Birth details, tissue differences, and daily load all matter. Infection risk, anemia, and sleep shape pace too. Your plan must bend with your day. Steady checks beat strict clocks.
One guiding rule
If something looks or feels worse for more than a day, reassess. Rest, review your steps, and call if needed. Early calls protect comfort and confidence.
Supplies, setup, and first 48-hour routines
Simple tools and clear stations make care easy. You will move less and think less. That saves energy for feeding, sleep, and healing.
Create a small care station
Place supplies on a tray near your bed or chair. Keep water, snacks, and your phone within reach. Add a nightlight for calm bathroom trips. A small trash bag avoids extra walks.
Supplies and tools to have ready
- Fragrance-free soap or gentle cleanser
- Clean washcloths and soft towels
- Sterile gauze pads for blot-drying
- Adhesive-free abdominal binder if advised
- Loose, high-rise underwear and soft pants
- Small mirror for visual checks
- Pain medicine as prescribed
- Water bottle and light, salty snacks
How the first 48 hours usually feel
Your abdomen feels heavy and sore. Coughing, laughing, and standing pull on the line. Splint the belly with a folded towel or pillow. Exhale gently before stands or coughs. Ask for help often. Help now prevents setbacks later.
Bathroom basics
Pee every few hours. A full bladder increases pressure and discomfort. Wipe gently, away from the incision. Wash hands before and after care. Rinse the line only when cleared to shower.
Binder or no binder
Abdominal binders support movement for many people. They reduce jiggling and guarding. Some feel too snug. If using one, place it above the line. Avoid rubbing the incision edge. Remove it for checks and showers.
Environment matters
Keep the room warm and calm. Cold rooms raise tension and shivers. Shivers increase soreness. Dim light helps sleep cycles. Better sleep helps pain management and healing.
Daily cleaning, drying, and dressing techniques
Clean, dry, and open to air are your anchors. You will repeat small steps. Those steps protect the edges as they close. Consistency beats intensity every time.
Your first showers
Shower when your team clears you. Use lukewarm water. Let water run gently over the line. Do not scrub. A small amount of fragrance-free soap on surrounding skin is fine. Rinse well. Pat dry with a clean towel.
Blot, don’t rub
Use sterile gauze to blot moisture directly on the line. Rubbing risks irritation. Replace gauze as soon as it gets damp. Air-dry a few minutes before dressing.
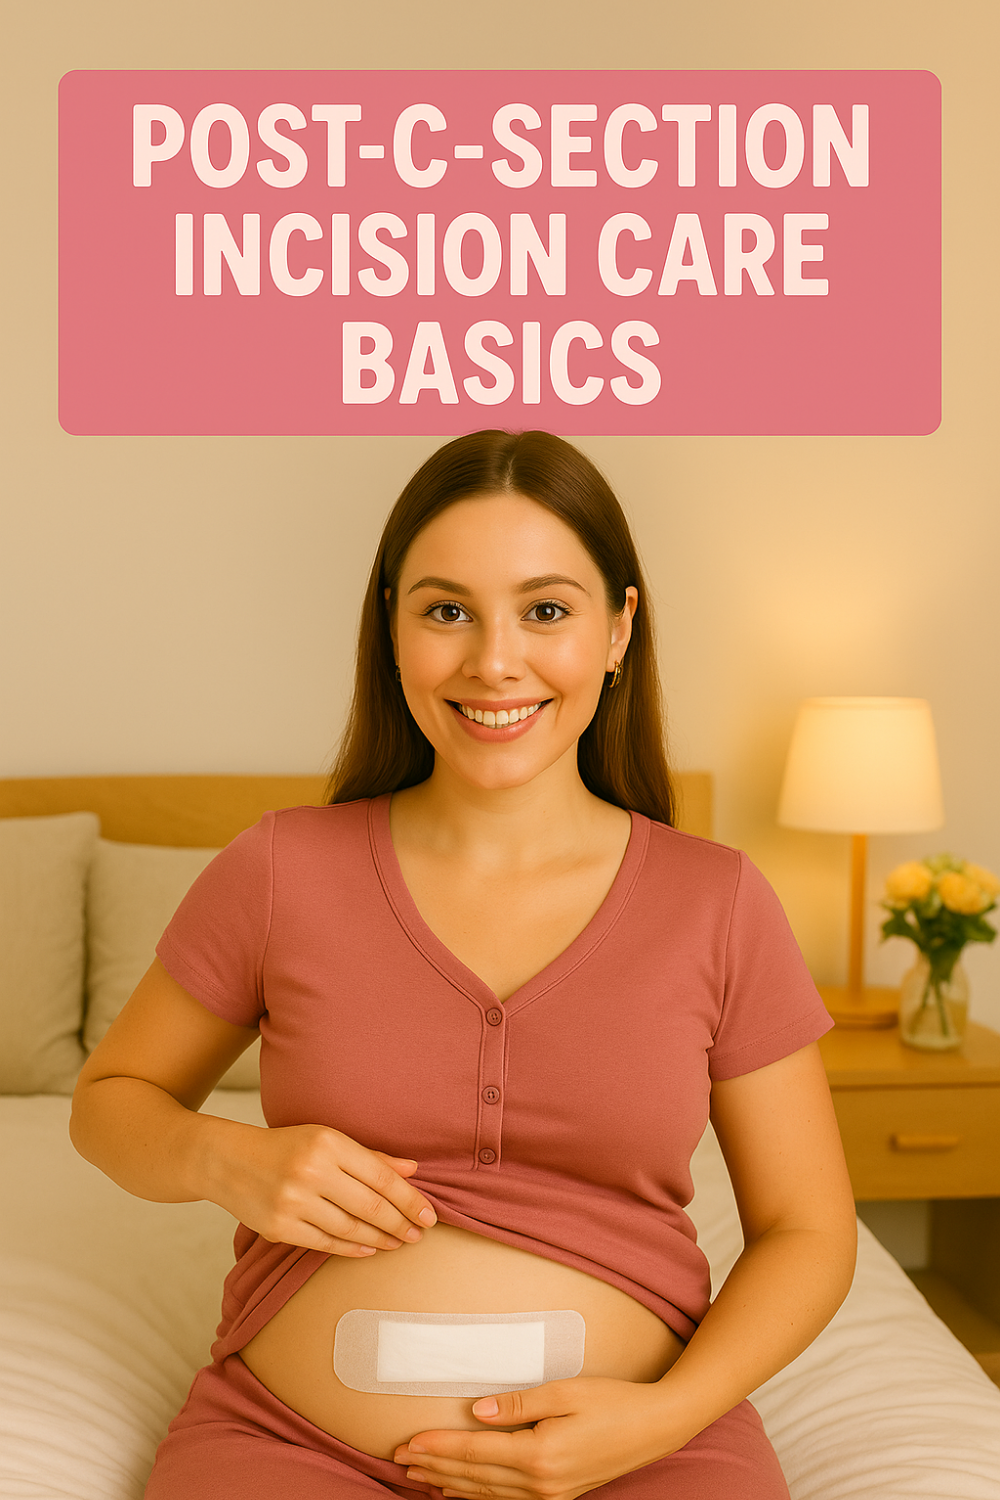
Dressing or not dressing the line
Many incisions stay uncovered once dry. Some require a light dressing early on. Follow your surgeon’s directions. If you cover, use a breathable, non-sticky layer. Change it when damp or daily.
A simple cleaning routine you can memorize
- Wash hands with soap and water.
- Gather gauze, towel, and clean clothes.
- Shower with lukewarm water; avoid scrubbing.
- Blot the line with sterile gauze until dry.
- Air-dry two to five minutes.
- Dress the area if instructed; otherwise, keep it open to air.
- Wash hands again and rest.
Hair, sweat, and folds
Body folds trap moisture. Sweat increases friction. Keep the crease above the line dry. A cool fan after showers can help. Avoid powders unless a clinician suggests them.
Adhesive marks and skin
Glue or adhesive can linger. Do not pick. Let edges lift on their own. Picking can open micro-tears. If residue bothers you later, ask about approved removers.
Water you should avoid
Skip soaking baths and hot tubs until cleared. Avoid swimming pools for now. Soaking softens the edge and raises infection risk. Showers alone are safest early.
What clean should feel like
You should feel calm, dry, and supported. Stinging should fade in minutes. If stinging lingers, review products. Fragrances and alcohols often irritate. Simpler is safer.
Movement, posture, and support for less strain
How you move shapes pain and swelling. Gentle mechanics protect the line. Each move can be kinder with breath and setup.
Breath that supports motion
Inhale to prepare. Exhale through pursed lips during effort. Use that exhale to stand, cough, or lift your baby. The exhale steadies pressure. It keeps strain off the line.
Log-roll out of bed
Bend your knees and roll to your side. Drop your feet to the floor. Press up with your arms. Keep the belly relaxed. Exhale as you push. This protects the incision and back.
Posture reset you can repeat anywhere
Stack ribs over pelvis. Unlock your knees. Keep shoulders low and wide. Grow tall through the back of the neck. This calm stack reduces tug on the line.
Walking plan for circulation
Start with room laps. Add hallway laps when steady. Wear supportive shoes. Keep steps short. Stop if pulling grows sharp. Resume after rest and water. Walking guards against clots and stiffness.
Lifting rules that keep healing safe
Keep items close to your body. Use your legs, not your back. Exhale during the hardest part. Avoid heavy loads until cleared. Ask for help with laundry, pets, and car seats.
Coughing and sneezing without fear
Hold a folded towel over the line. Press gently as you cough or sneeze. Exhale as it happens. This “splint” reduces pain. It also keeps you from bracing hard.
Sitting and standing without spikes
Raise seats with extra cushions. Higher seats need less effort. Slide to the edge before standing. Plant your feet and exhale to rise. Sit slowly with the same breath support.
Driving and car rides
Avoid driving until cleared and off narcotics. For rides, use a small pillow under the belt. Stop to walk on longer drives. Extra stops control swelling and stiffness.
Pain management, swelling, and scar care basics
Pain control is not indulgent. It enables movement, sleep, and normal breath. Those items heal tissue. Handle pain and swelling with simple, steady choices.
Medication plan in plain words
Use prescribed medicine on schedule. Scheduled doses prevent pain spikes. Spikes are harder to control. Ask how to stagger medicines safely. Keep a small log for dose times.
Cold and warmth
Ice reduces swelling early. Wrap packs in a towel. Use for short sessions, then remove. Later, warmth can relax muscles. Warmth should never sit directly on the line. Protect skin every time.
Support wear and fabrics
Choose high-rise, soft waistbands. Seamless underwear avoids rubbing. Many prefer postpartum briefs. They hold dressings and pads without pressure on the line.
Itch and nerve zings
Tingling and itch often arrive as nerves wake. That is normal. Do not scratch the line. Tap around it gently if needed. Ask about antihistamines if itch disrupts sleep.
Scar care timeline
Moisturizing happens only when the edge is closed and cleared. Before that, keep it clean and dry. After clearance, gentle massage around the line may help comfort. Follow your clinician’s start date.
Hydration and protein
Water supports circulation and skin. Protein supports repair. Pair water with small, balanced snacks. Light soups, yogurt, eggs, or beans work well. Regular meals steady energy and mood.
Sleep and nap strategy
Nap when the room quiets. Short naps add up. Dim lights and reduce screens. A warm shower before bed calms muscles. Better sleep reduces pain perception.
Comfort toolkit to keep nearby
- Folded towel for cough splinting
- Small pillow for belt and pressure points
- Ice pack with cloth wrap
- High-rise underwear and soft pants
Red flags, infection signs, and when to call
Clear rules reduce hesitation. Call early with concerns. You deserve fast answers and calm guidance.
What normal is not
Normal soreness fades. Normal redness shrinks. Normal moisture is clear or light pink. Normal edges stay together. Anything trending the other way deserves attention.
Signs that need prompt calls
- Fever or chills without another clear cause
- Redness spreading beyond the line’s edges
- Pus-like or foul-smelling drainage
- Increasing pain after days of improvement
- Opening at the edges or a gap in the line
- Heavy bleeding from the incision itself
- Sudden swelling, warmth, or a hard lump nearby
Context to share when you call
Note when symptoms began. Describe color, amount, and odor. Mention activity changes or new products. Share medicine times and doses. Short facts speed helpful advice.
If you are unsure
Rest and hydrate for one hour. Recheck the line in good light. If worries persist, call. Overnight anxiety drains energy. Answers restore calm.
Leg swelling and clots
Swelling in both legs can be normal. One-sided swelling with pain is different. Warmth and tenderness are concerns. Call right away if that pattern appears.
Breastfeeding and fevers
Feeding can raise cramps and sweat. It should not cause fever. If fever appears, call. You and your baby both benefit from quick checks.
Return to activity, clothing, and comfort tips
You will rebuild routines step by step. Clothing, chores, and exercise return slowly. Patience now saves time later.
Timeline hints, not promises
Some feel ready for longer walks at two weeks. Others need three. Some return to desk work earlier. Others need the full six. The right time is your time.
Clothing that avoids friction
Choose high, soft waistbands. Skip tight elastics rubbing the line. Loose dresses feel kind early. Sports bras with wide bands help if chafing appears.
Baths, pools, and hot tubs
Soaks wait until the edge is sealed and cleared. Pools and hot tubs wait even longer. Ask at follow-up. Chlorine and heat complicate healing. Patience pays here.
Core and pelvic floor basics
Deep breath and gentle pelvic floor release come first. Add supported sit-to-stands. Then add short, flat walks. Core training resumes later with guidance. Exhale to move remains your anchor.
Return to lifting
Start with baby only. Then add a diaper bag. Use short carries and frequent rests. Exhale through effort every time. Heavy lifts wait for clearance.
Sex and internal products
Penetration waits for clearance. The cervix and uterus need time. The line also needs time. Use external pads only until cleared. Ask about timelines at your visit.
Travel and stairs
Bundled errands reduce fatigue. For stairs, lead with the stronger leg. Use the rail. Take breaks between flights. Listen for pulling at the line. Pulling is your body’s cue to slow.
Returning to driving
You must react and brake without hesitation. You must also be off narcotics. Ask for a short, quiet practice drive first. Safety wins over speed.
Mood and expectations
Healing includes feelings. Hormones shift fast. Sleep changes everything. Ask for help with meals and chores. Your worth is not your output. Your body just did a lot.
Frequently Asked Questions
How often should I check my incision each day?
Twice daily works for many people. Use good light and a small mirror. Note color, moisture, and comfort. Call if anything trends worse.
Can I use ointments or creams on the line?
Not until cleared. Keep it clean and dry first. After clearance, use only what your clinician recommends. Simple options usually work best.
What if underwear rubs the incision?
Switch to high-rise, seamless styles. Place a soft gauze layer above the line. Avoid direct elastic on tender edges. Friction usually eases each week.
When can I start exercising again?
Begin with short, flat walks when steady. Add time before intensity. Wait for clearance for lifting and core work. Exhale to move during every effort.
Is some numbness normal around the scar?
Yes. Skin nerves were moved or cut. Sensation often returns gradually. Tingling and itch can appear during healing. Report sudden new pain or spreading redness.