Tired of harsh cleansers drying out your skin? A simple, homemade cleansing balm made from just three natural ingredients effectively removes makeup, cleanses gently, and nourishes your skin at the same time. Creating your own cleansing balm ensures you avoid unwanted chemicals, saves money, and supports healthy, glowing skin effortlessly. Discover exactly how easy it is to make and use this soothing DIY cleansing balm as part of your daily natural skincare routine.
- Benefits of a Homemade Cleansing Balm
- Essential Ingredients and Their Benefits
- Easy Step-by-Step DIY Cleansing Balm Recipe
- How to Use Your Cleansing Balm Effectively
- Simple Storage and Safety Tips
- Common DIY Cleansing Balm Mistakes to Avoid
- Integrating Your DIY Balm into Your Skincare Routine
Benefits of a Homemade Cleansing Balm
Creating your own cleansing balm at home provides numerous clear and immediate skincare benefits:
- Gentle Cleansing: Effectively removes makeup, dirt, and impurities without stripping essential moisture clearly.
- Natural Ingredients: Free from harsh chemicals, fragrances, and preservatives that irritate sensitive skin.
- Hydrating and Nourishing: Deeply moisturizes your skin naturally, leaving it soft, supple, and glowing clearly.
- Cost-Effective: Significantly cheaper than commercial products, saving money effortlessly.
- Eco-Friendly: Sustainable ingredients and reusable packaging reduce environmental impact easily.
Regularly using a homemade cleansing balm clearly improves your skin’s health and hydration naturally and affordably.
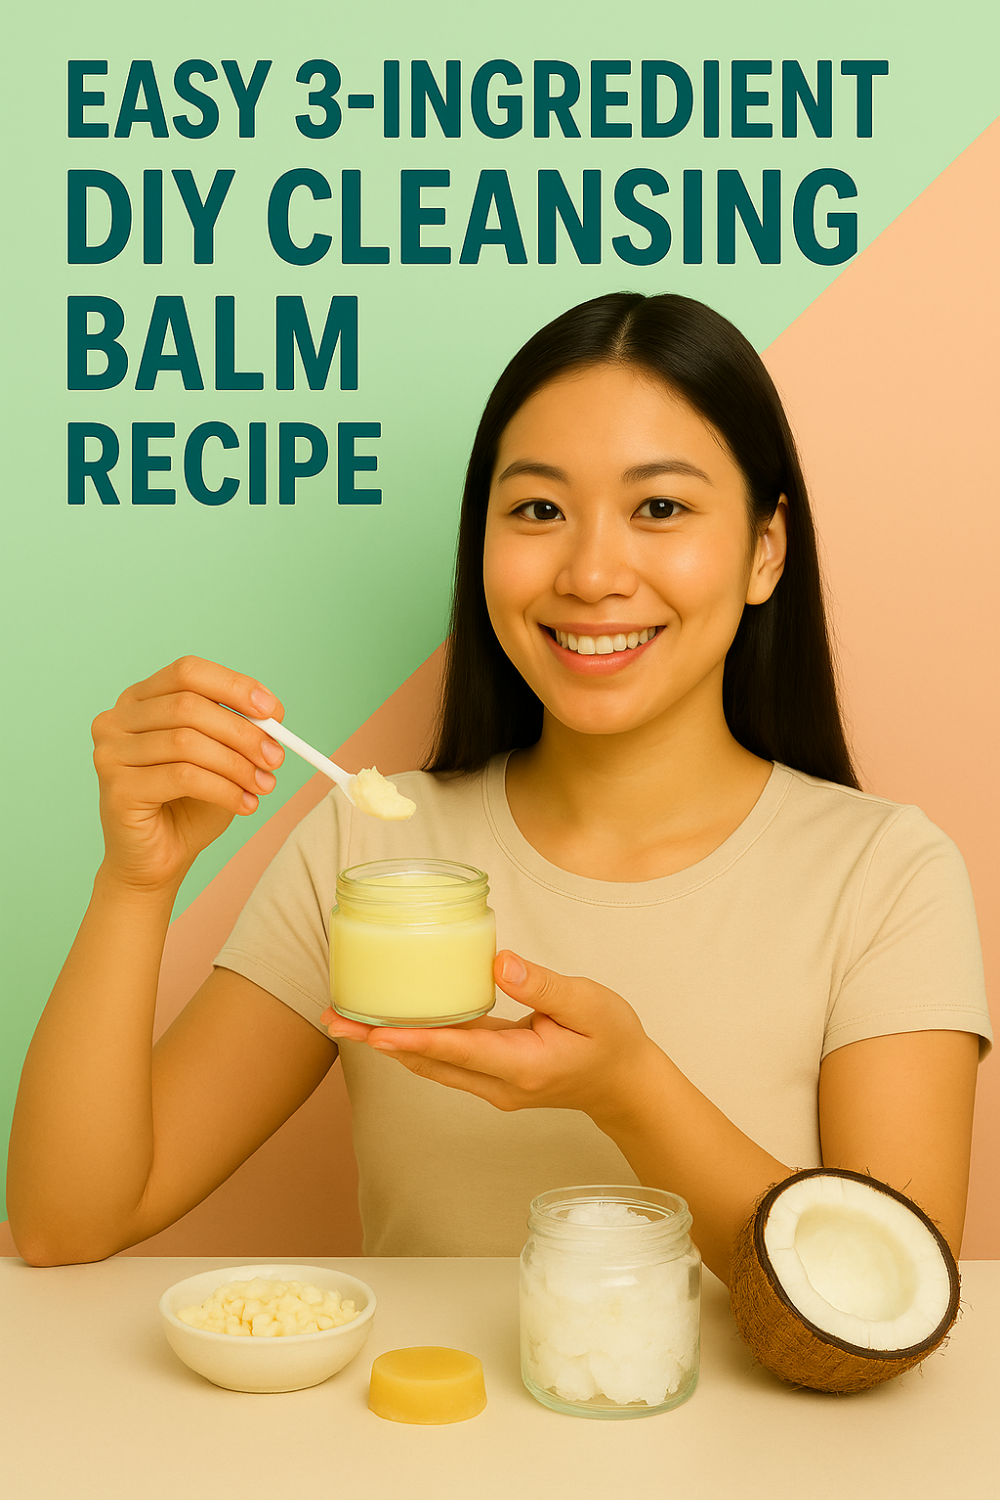
Essential Ingredients and Their Benefits
This easy cleansing balm recipe requires just three simple ingredients, each providing clear skincare benefits:
- Coconut Oil: Naturally antibacterial, gently melts away makeup, hydrates deeply, and reduces inflammation effectively.
- Shea Butter: Rich in vitamins and antioxidants, effectively nourishes skin, heals dryness, and soothes irritation naturally.
- Beeswax: Provides balm consistency, locks moisture into your skin, and offers natural protection clearly and effectively.
Using these natural ingredients regularly ensures your skin remains cleansed, hydrated, and healthy clearly without irritation.
Easy Step-by-Step DIY Cleansing Balm Recipe
Create your cleansing balm effortlessly at home using this simple three-ingredient recipe:
Ingredients:
- 2 tablespoons coconut oil
- 2 tablespoons shea butter
- 1 tablespoon beeswax pellets
Simple Instructions:
- Melt Ingredients:
Combine coconut oil, shea butter, and beeswax pellets in a glass bowl or double boiler. Gently melt ingredients over low heat, stirring continuously until fully blended. - Mix Thoroughly:
Remove from heat and stir carefully to ensure a smooth, even mixture without lumps or separation. - Pour and Cool:
Pour your balm mixture carefully into a clean, sterilized glass jar or container. Allow it to cool completely at room temperature until solidified clearly and evenly. - Store Properly:
Cover with a tight-fitting lid, labeling your jar clearly with the date. Store in a cool, dry place, away from direct sunlight.
Creating your own cleansing balm clearly ensures freshness, quality ingredients, and maximum skincare benefits effectively.
How to Use Your Cleansing Balm Effectively
Follow these easy steps for effective use of your DIY cleansing balm daily:
- Scoop Small Amount:
Use a clean fingertip or spatula to scoop a small amount from your balm jar. - Warm Balm:
Gently warm the balm between your fingertips until it melts smoothly. - Massage onto Skin:
Massage gently into dry skin using soft, circular motions, effectively removing makeup, dirt, and impurities. - Remove Balm:
Rinse with warm water or gently wipe away with a warm, damp cloth, ensuring skin is cleansed thoroughly and hydrated clearly.
Regular use of this easy cleansing balm provides gentle, effective cleansing and nourishment for all skin types naturally.
Simple Storage and Safety Tips
Ensure safe storage and optimal effectiveness of your cleansing balm clearly by following these easy tips:
- Clean Containers:
Always use clean, sterilized jars and utensils, preventing contamination and extending balm shelf-life clearly. - Avoid Moisture:
Store balm jars in a dry location, clearly avoiding moisture exposure to prevent bacterial growth effectively. - Temperature Control:
Keep balm in a cool place to maintain texture, clearly avoiding direct heat or sunlight to preserve effectiveness. - Regular Checks:
Inspect balm regularly for changes in texture or smell, clearly discarding any product that seems spoiled or off.
Following these simple storage tips ensures your homemade balm remains safe, fresh, and effective consistently.
Common DIY Cleansing Balm Mistakes to Avoid
Clearly avoid these common mistakes to maximize your DIY balm results:
- Using Too Much Balm:
Use small amounts; excessive balm use may clog pores or feel overly greasy on the skin. - Skipping Patch Test:
Always perform a patch test before full-face application clearly to ensure no allergic reactions or irritation occur. - Inadequate Mixing:
Thoroughly mix ingredients to avoid lumps or uneven texture clearly, ensuring smooth, effective balm every time. - Poor Ingredient Quality:
Use high-quality, pure ingredients consistently to prevent irritation and maximize skincare benefits clearly.
Avoiding these easy-to-fix mistakes ensures effective, gentle cleansing and clear skin consistently.
Integrating Your DIY Balm into Your Skincare Routine
Easily integrate your DIY cleansing balm into your daily skincare routine clearly and effectively:
- Evening Cleanser:
Use balm nightly as a gentle, moisturizing cleanser to effectively remove makeup and daily impurities. - Double-Cleansing Method:
Pair balm with a gentle, water-based cleanser afterward clearly, providing thorough cleansing without drying your skin. - Weekly Deep Cleanse:
Combine balm cleansing with gentle facial massage weekly, effectively boosting circulation and promoting glowing skin. - Travel-Friendly Cleanser:
Store balm in a small jar for travel-friendly cleansing, clearly ensuring consistent skincare wherever you go.
Establishing these clear routines ensures your DIY cleansing balm effectively maintains healthy, hydrated skin daily.
Frequently Asked Questions
Is DIY cleansing balm suitable for all skin types?
Yes, this gentle formula effectively suits all skin types, providing hydration and cleansing clearly without irritation.
Can cleansing balm remove waterproof makeup easily?
Definitely—the balm effortlessly dissolves even stubborn waterproof makeup, gently cleansing without harsh rubbing clearly.
How long does homemade cleansing balm last?
Properly stored, the balm typically remains fresh and effective for up to three months clearly.
Can I customize the balm with essential oils safely?
Yes, carefully add 1–2 drops of skin-friendly essential oils like lavender or chamomile, clearly ensuring safe, beneficial use.
Should I use moisturizer after cleansing balm?
If skin feels adequately moisturized, additional moisturizer may not be necessary. Otherwise, apply a light moisturizer afterward clearly.