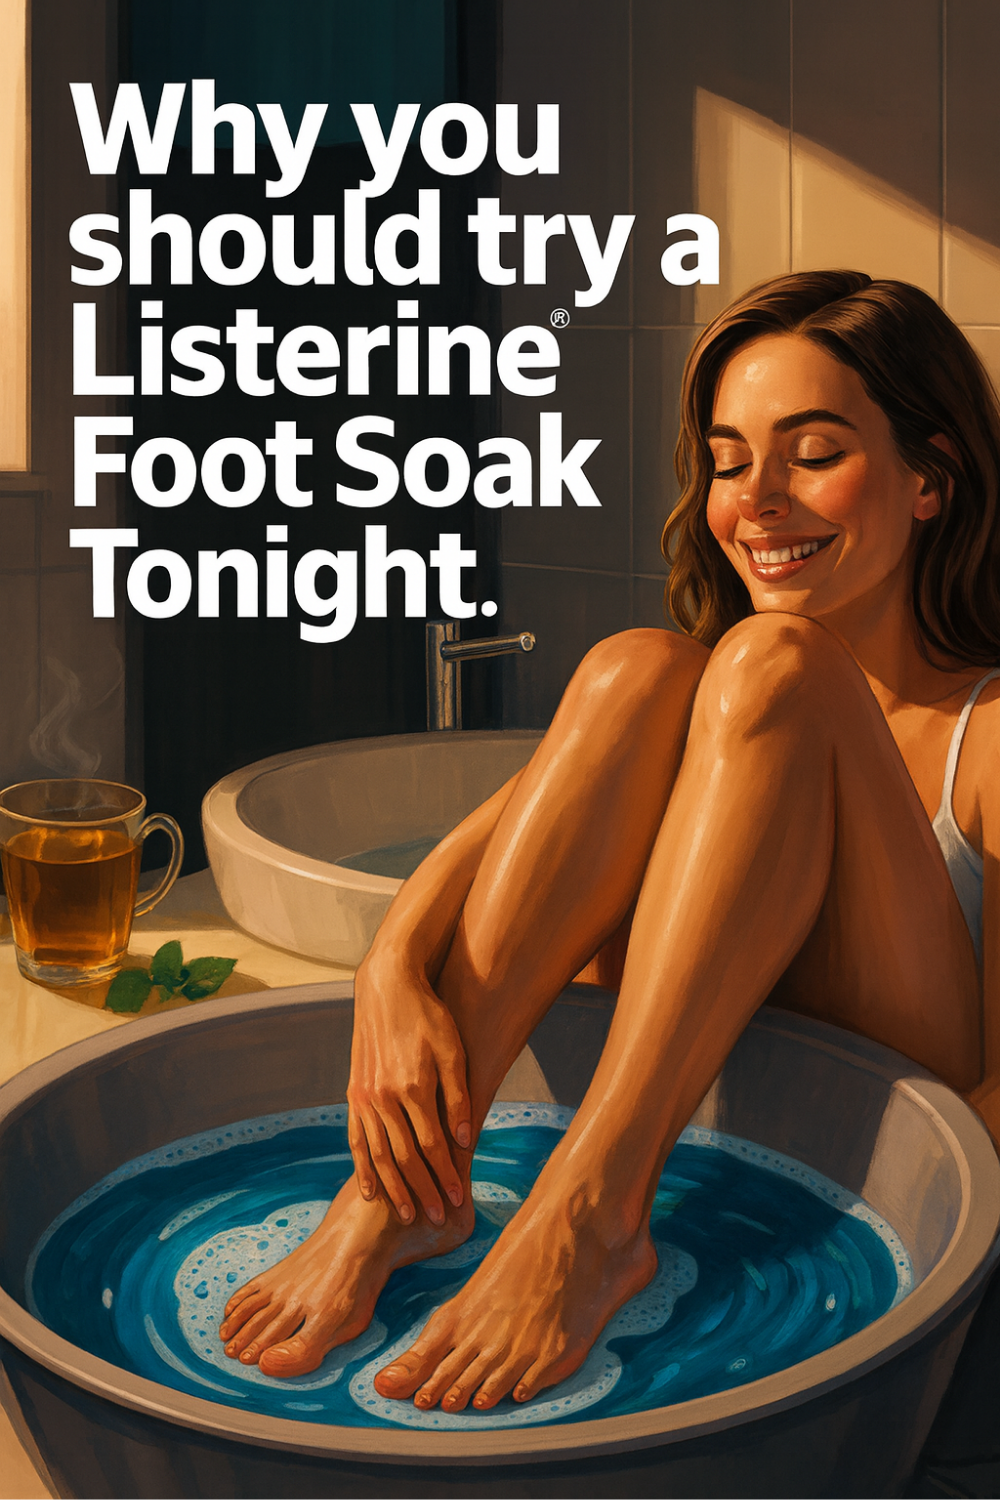
A diluted Listerine soak surprised me: it softened rough heels, cut odor, and made polish changes easier—without harsh scraping. The trick is smart dilution, short contact, and good aftercare. Here’s my exact routine, safety rules, and a week plan so your feet look polished, comfortable, and sandal-ready.
- What a Listerine soak is (and isn’t)
- Safety first: who should skip and how to patch test
- My diluted recipe that actually works
- Step-by-step soak routine for smooth, fresh feet
- Customize by skin type, goals, and season
- Aftercare: file, seal, and protect for longer results
- Troubleshooting, myths, and small mistakes to avoid
- A 7-day plan to reset rough heels and keep them soft
What a Listerine soak is (and isn’t)
A Listerine soak is a short foot bath using heavily diluted mouthwash. The point is simple: loosen dull, dead skin and lift odor-causing residue. Most mouthwashes combine water, alcohol, essential oils, menthol, and mild surfactants. In water, these can help degrease and freshen skin. The soak is not a disinfectant treatment for infections, and it is not a cure for nail fungus or athlete’s foot. It is a cosmetic prep that makes gentle filing and moisturizing work better.
Why it seems to help: warm water swells the outer skin layer, diluted solvents loosen buildup, and the minty oils mask odor. Your real wins come after the tub: a careful file and a sealing moisturizer. That pairing transforms feet more than a long soak ever will. The soak is just the opener.
What it isn’t: a reason to soak for an hour, an excuse to pour straight mouthwash on skin, or a replacement for medical care. Used carelessly, mouthwash can irritate. Used thoughtfully—briefly, diluted, and followed by a barrier cream—it earns its spot in a glow-up routine.
Safety first: who should skip and how to patch test
Safety turns a TikTok trick into a reliable ritual. Mouthwash was designed for the mouth, not for long skin baths. Respect that and your feet will thank you.
Who should skip or ask a clinician first: anyone with diabetes, neuropathy, poor circulation, active eczema or psoriasis flares on feet, open cuts, blisters, or suspected infection. Skip during pregnancy if you are sensitive to fragrance or menthol. Children should not use this soak. If you react to menthol, eucalyptol, thymol, or alcohol, choose a different freshening bath, or use a zero-alcohol, dye-free formula with more dilution.
Patch test the first time. On a clean ankle, apply a dab of your planned dilution with a cotton round. Leave 15 minutes, then rinse. Watch 24 hours for redness or itch. If calm, proceed. If you feel sting in the bath, end the soak and rinse. Your goal is comfort, not “feel the burn.”
Keep sessions short. Alcohol and essential oils can dry and irritate if you overdo it. Five to ten minutes is plenty. Always moisturize afterward.
My diluted recipe that actually works
I tested several ratios. This one gives results without irritation or stains. Measure; don’t eyeball. Small batches stay fresher and avoid color transfer.
The recipe
- Add 1 cup warm water to a shallow basin.
- Stir in ½ cup plain, amber Listerine or a dye-free, zero-alcohol mouthwash.
- Add ½ cup plain white vinegar for extra softening.
- Top with 2–3 cups warm water to cover your heels (final mix ≈ 1:6 to 1:8 mouthwash:water).
Why these numbers: the total dilution keeps alcohol and oils gentle. Vinegar helps loosen mineral film and callus edges. The larger water volume spreads tingles thin. If your skin is reactive, double the water again the first time. You should smell mint faintly, not feel sting.
Vinegar notes: use plain white vinegar, not cleaning strength. Skip vinegar if you have cracks or dermatitis. If you dislike the scent, omit it and lean on warm water plus mouthwash alone.
Step-by-step soak routine for smooth, fresh feet
The order matters more than any ingredient. Short soak, light file, seal with moisture, protect overnight. That is the play.
The routine
- Prep the basin and tools
Place your diluted soak, a soft towel, a gentle foot file or 180–220 grit buffer, and a fragrance-free moisturizer within reach. Wash hands. - Soak briefly: 5–10 minutes
Submerge heels and soles. Keep ankles out if skin there is sensitive. You want “warm and minty,” not “hot and tingly.” If you feel sting, stop and add warm water. Shorter is kinder. - Rinse and pat
Lift feet, rinse with warm water, and pat until just damp. Do not rub. Damp skin files cleaner than dripping wet skin and reduces over-thinning risk. - Gentle file
Glide the file in single, light strokes on thick spots: outer heel, edge of the big toe, and ball of the foot. Stop at “smooth enough,” not “perfect.” If the area turns pink, you’re done. Wipe dust with a damp cloth. - Seal the work
Massage a nickel-size dollop of a plain, fragrance-free cream into each foot. Urea (10–20%) or lactic acid (5–12%) creams work well for dry heels. If your skin is very reactive, choose a simple petrolatum-based ointment instead. - Sock and protect
Slip on thin cotton socks for 30–60 minutes, or overnight on cool nights. This traps hydration without overheating. In summer, a 15-minute rest is enough. - Clean up
Rinse the basin, wash tools with soap, and air-dry. Good hygiene keeps the glow-up routine safe.
You should see softer edges immediately and more even tone by day three. The second session, a few days later, looks even better. The magic is in repeating this routine briefly and sealing moisture in afterward.
Customize by skin type, goals, and season
Different feet, different dials. Keep changes small, track what feels best, and stay on the gentle side.
Very sensitive skin: halve the mouthwash, keep the vinegar, and soak five minutes max. Skip the file the first session; seal with a bland cream only. If that feels good, add three or four file strokes the second time.
Stubborn rough patches: warm the water a touch more, keep the soak at ten minutes, and file a little longer—but only on callused edges. Follow with a urea cream. Repeat in four days, not tomorrow.
Odor control: leave vinegar in, keep sessions short, and moisturize. Odor often returns when skin is cracked and dry. Consistent sealing reduces micro-tears that trap sweat.
Polish changes: do your soak before removal. The soak loosens residue so polish comes off clean. Wash with soap after the soak and dry nails before re-polishing; water can expand nails and trap solvents.
Hard water homes: add an extra ½ cup warm water so minerals dilute further. Consider alternating with a simple Epsom salt soak on off days.
Summer vs winter: in summer, shorter soaks and lighter creams reduce sweat maceration. In winter, longer moisturizing time and socks overnight prevent cracking.
Aftercare: file, seal, and protect for longer results
The soak primes the canvas. Aftercare makes the finish last days instead of hours.
Filing rules: fewer strokes beat force. Keep the file moving; don’t saw back and forth. File only the outermost thick areas. Avoid arch and toes’ top skin. Your goal is smooth edges that catch less on socks and sheets.
Moisturizer pick: if you tolerate actives, urea or lactic acid at low strength keeps skin flexible. If you’re reactive, choose a simple petrolatum or glycerin-rich cream. Either way, apply on damp skin.
Timing: moisturize right after rinsing and patting post-soak. On off days, do a quick after-shower application. Consistency beats “rescue mission” size blobs once a week.
Shoes and socks: rotate pairs so shoes dry between wears. Moist, tight shoes undo your hard work. Pick socks that breathe. For long days, carry a spare pair. Little changes protect the finish.
Sun and sandals: minty oils can raise sun sensitivity for some. If you soak by day, rinse well and wear sunscreen on tops of feet. Sandal straps etch lines; a quick cream pass before you leave helps.
Troubleshooting, myths, and small mistakes to avoid
Sting or redness: your dilution is too strong or soak too long. Double the water next time and cap it at five minutes. Moisturize with a bland cream only. If redness persists, skip soaks for two weeks.
Blue or green tinge: dye transfer happens with colored mouthwashes. It fades in a day or two. Use amber Listerine or a dye-free formula next time.
No change: you may be over-diluted or your filing is too cautious. Raise vinegar slightly (but keep the total soak short) or file three extra strokes per rough zone. Seal with urea cream for a week.
Over-filing: pink patches mean you removed too much. Pause filing for two weeks; moisturize daily. Soreness is a stop sign.
Myths worth skipping: straight mouthwash for 30 minutes (irritating), bleach in water (dangerous), or shaving calluses with a razor (injury risk). Keep it gentle, short, and paired with moisturizer.
Medical caveat: suspected fungus or athlete’s foot needs targeted care. The soak freshens, but medicines clear infections. If you see scaling between toes, itching, or nail changes, ask a clinician.
A 7-day plan to reset rough heels and keep them soft
Consistency makes the glow. Follow this light schedule once, then use maintenance weekly.
7-day heel-reset plan
Day 1: Do the soak for 8–10 minutes. Light file. Apply urea or bland cream. Sock for an hour.
Day 2: Skip the soak. After shower, pat feet damp, then apply cream. Let it sink before socks.
Day 3: Soak five to eight minutes. Rinse, pat, file three to five strokes where needed. Cream and sock 30 minutes.
Day 4: No soak. Quick cream pass after bathing. Air feet when possible; rotate shoes.
Day 5: Soak five minutes only. Minimal filing. Cream with a touch more on heels. Sock overnight if the air is dry.
Day 6: No soak. Walk barefoot indoors on clean floors for short periods to air skin. Moisturize at night.
Day 7: Review. If edges are smooth, switch to a weekly soak. If stubborn spots remain, repeat Days 3–5 next week, then move to weekly.
Maintain with once-weekly soaks, daily cream after bathing, and smart shoes. Expect improvements to hold longer each week you stay consistent.
Frequently Asked Questions
Can I use colored or minty Listerine?
Yes, but dyes can tint skin temporarily. Try amber Listerine or a dye-free, zero-alcohol formula if you notice staining or sting.
Is vinegar required?
No. It helps loosen mineral film and callus edges, but you can omit it if your skin is reactive. Keep dilution generous and time short.
How often can I do a Listerine soak?
Once weekly works for most. In a reset week, two to three short sessions are fine if skin stays calm. Daily soaks can over-dry.
Will this fix cracked heels or fungus?
It softens and freshens, but it isn’t a medical treatment. Deep cracks, bleeding, or suspected infections need clinician-guided care.
What moisturizer should I use after?
A fragrance-free cream. Urea or lactic acid helps smoothness; plain petrolatum suits very sensitive skin. Apply on damp feet and let it absorb before socks.